Meal Kit Quality Inspection: Buyer Release Plan
A step-by-step meal kit quality inspection guide for brands, importers and wholesalers releasing multi-component portable dining sets.
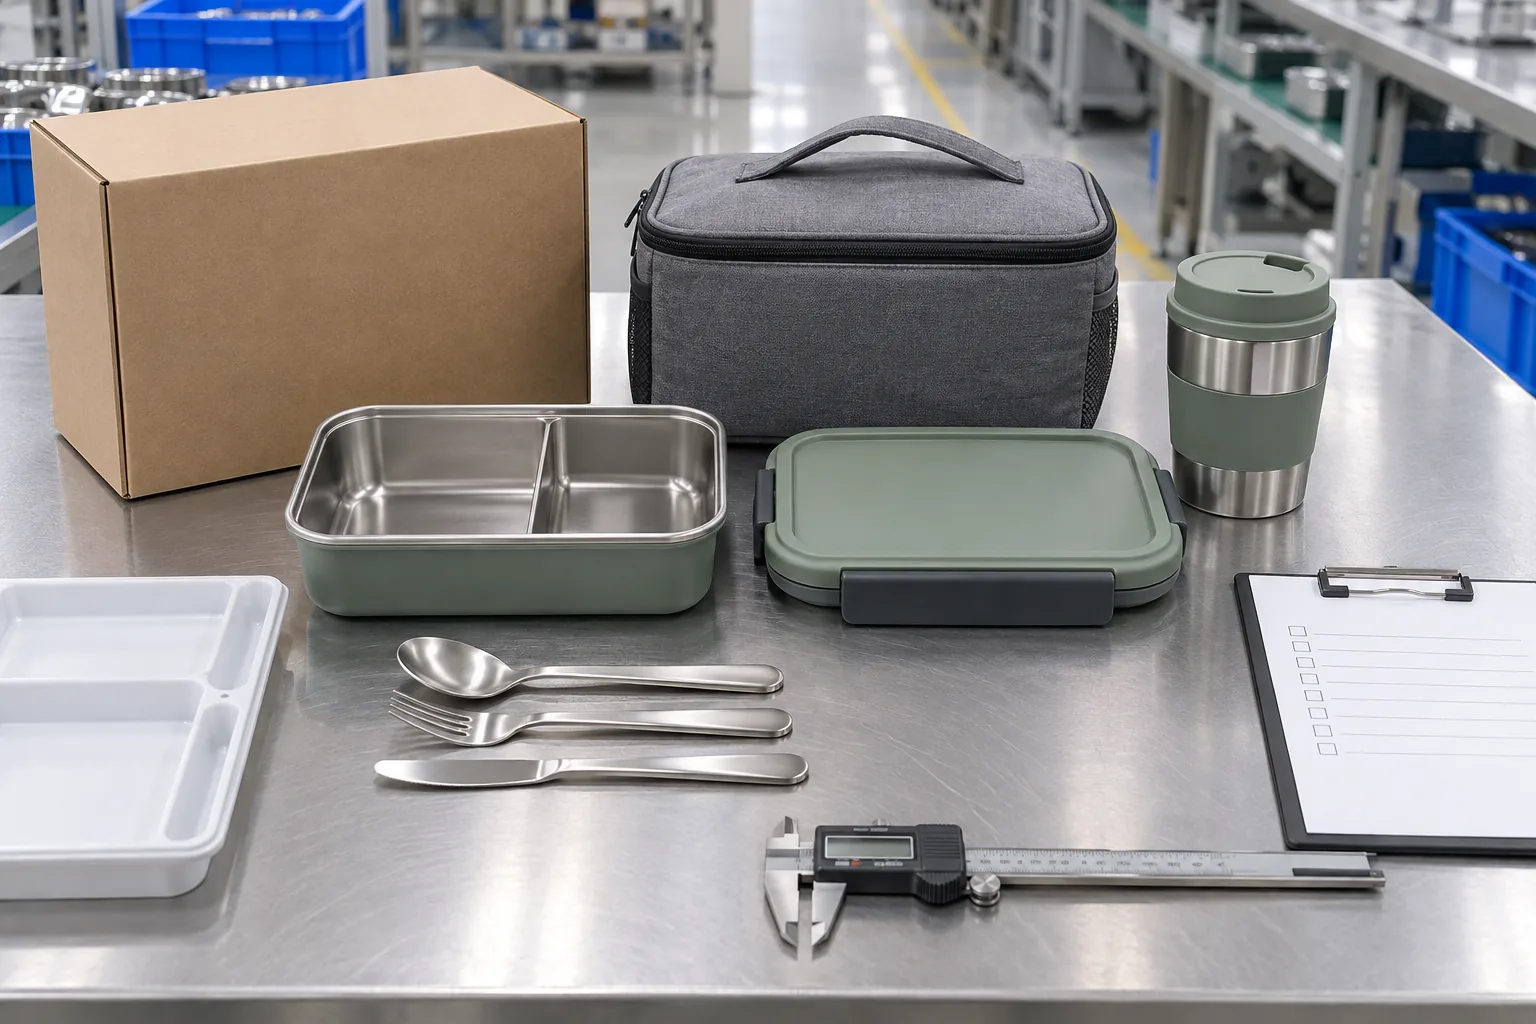
From the factory side, a multi-component set creates more inspection interfaces than a single lunch box. The container may be acceptable by itself, yet the spoon can rattle against the lid, the cup can prevent the bag from closing, or one insert can be missing from the retail box. Those are complete-SKU failures even when the individual parts look normal.
The solution is a release plan built around the exact item the buyer ordered. It should identify the approved revision, define what will be checked at each stage and state who can accept a deviation. This guide describes a practical sequence without inventing a universal sampling level or claiming that one method fits every market.
Step 1: freeze the commercial SKU before writing criteria
Inspection begins with a controlled definition of the product. List every component, quantity, material route, color, size, accessory, carry solution and packaging item that belongs to the SKU. If two retail configurations share most parts but use different bags or cutlery, they still need distinguishable release records.
The BOM should connect component names to drawings, samples and artwork revisions. Avoid descriptions such as “green lid” or “standard spoon” when several similar items exist in the project. A usable identifier lets receiving, assembly and final inspection confirm that the correct version entered the set.
Anchor meal kit quality inspection to controlled references
A golden sample is valuable because it shows relationships that a drawing may not communicate well. It can demonstrate color balance, surface feel, nesting order and the intended retail presentation. However, the sample should not replace the BOM, dimensional requirements or approved artwork because physical samples can be damaged, altered or separated from their records.
Label the reference with the SKU, revision, approval date and scope. If only appearance was approved, do not treat it as proof of every functional requirement. When a change is accepted, update the record and decide whether the physical reference must also be replaced.
Step 2: convert buyer expectations into observable defects
Words such as “good quality,” “premium finish” and “secure fit” are difficult to apply consistently. Translate them into conditions that a trained inspector can observe, measure or demonstrate. A surface requirement might identify viewing distance, lighting, location and allowable reference rather than relying on personal preference.
Defect severity should reflect consequence. A condition that affects safety, a mandatory requirement or intended function is different from a small appearance variation on a hidden surface. The buyer should approve the classification logic, examples and response before the final shipment is waiting for release.
Boundary samples can help where written language is not enough. They should be clearly identified, protected and linked to the applicable component and zone. One boundary sample does not automatically cover another material, color or production process.
Step 3: inspect incoming components against identity and condition
Incoming inspection prevents incorrect or damaged parts from flowing into assembly. The checks may cover component identity, material or supplier reference, color reference, dimensions relevant to fit, visible condition and required documentation. The exact scope should follow the approved product and its risks.
Mixed-material meal kits need particular discipline because molded plastic, silicone, stainless steel, textile and paper packaging arrive through different production routes. Each route can have its own visual language and process variation. The inspector should compare a component with the correct reference rather than with the nearest item on the table.
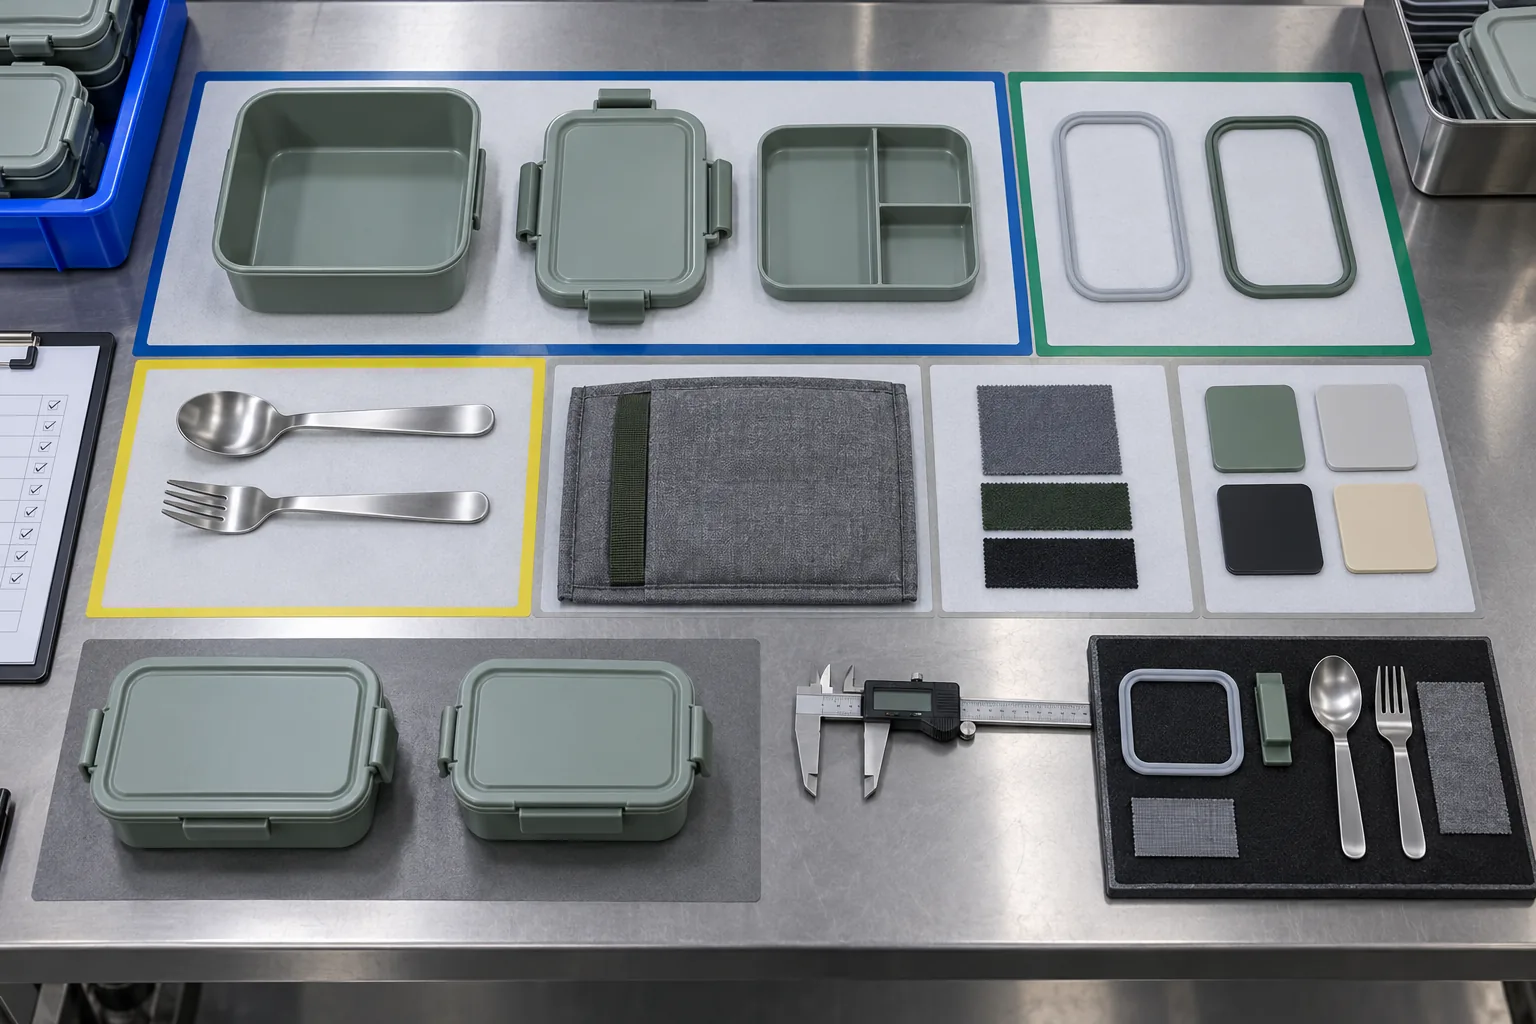
Record the lot, date or other traceability information available to the project. If a problem appears later, the team can then identify which assembled sets may contain the affected component. Traceability should be realistic and aligned with the actual production system rather than added as an unsupported promise.
Step 4: test the interfaces created during assembly
Assembly creates new requirements that are not visible on separate parts. The lid must meet the box correctly, a gasket must sit in its channel, a divider must locate without distortion and utensils must enter their holder without damaging nearby surfaces. These interfaces deserve explicit checks.
Use the approved closing sequence and orientation when checking fit. If excessive force is required or the user can easily misassemble a component, record the observation instead of forcing the sample to pass. A function that works only for experienced sample-room staff may not be robust enough for the intended market.
Where leakage, insulation, load, durability or other performance is required, use a buyer-approved method suitable for that claim and product. State the setup, condition, duration and pass rule. Do not turn an informal demonstration into a certified result or a broad performance promise.
Use complete-set function checks to expose interactions
Nesting, retention and carrier fit should be checked with every included part in place. A utensil that fits an empty tray may interfere once the napkin or divider is added. A bag that closes around a lunch box may become overstressed after a cup or cold pack joins the configuration.
Repeat the check in the intended packing sequence. If production operators must rely on an unrecorded trick to close the set, the process is not controlled. The assembly instruction, fixture or product design should make the approved result repeatable.
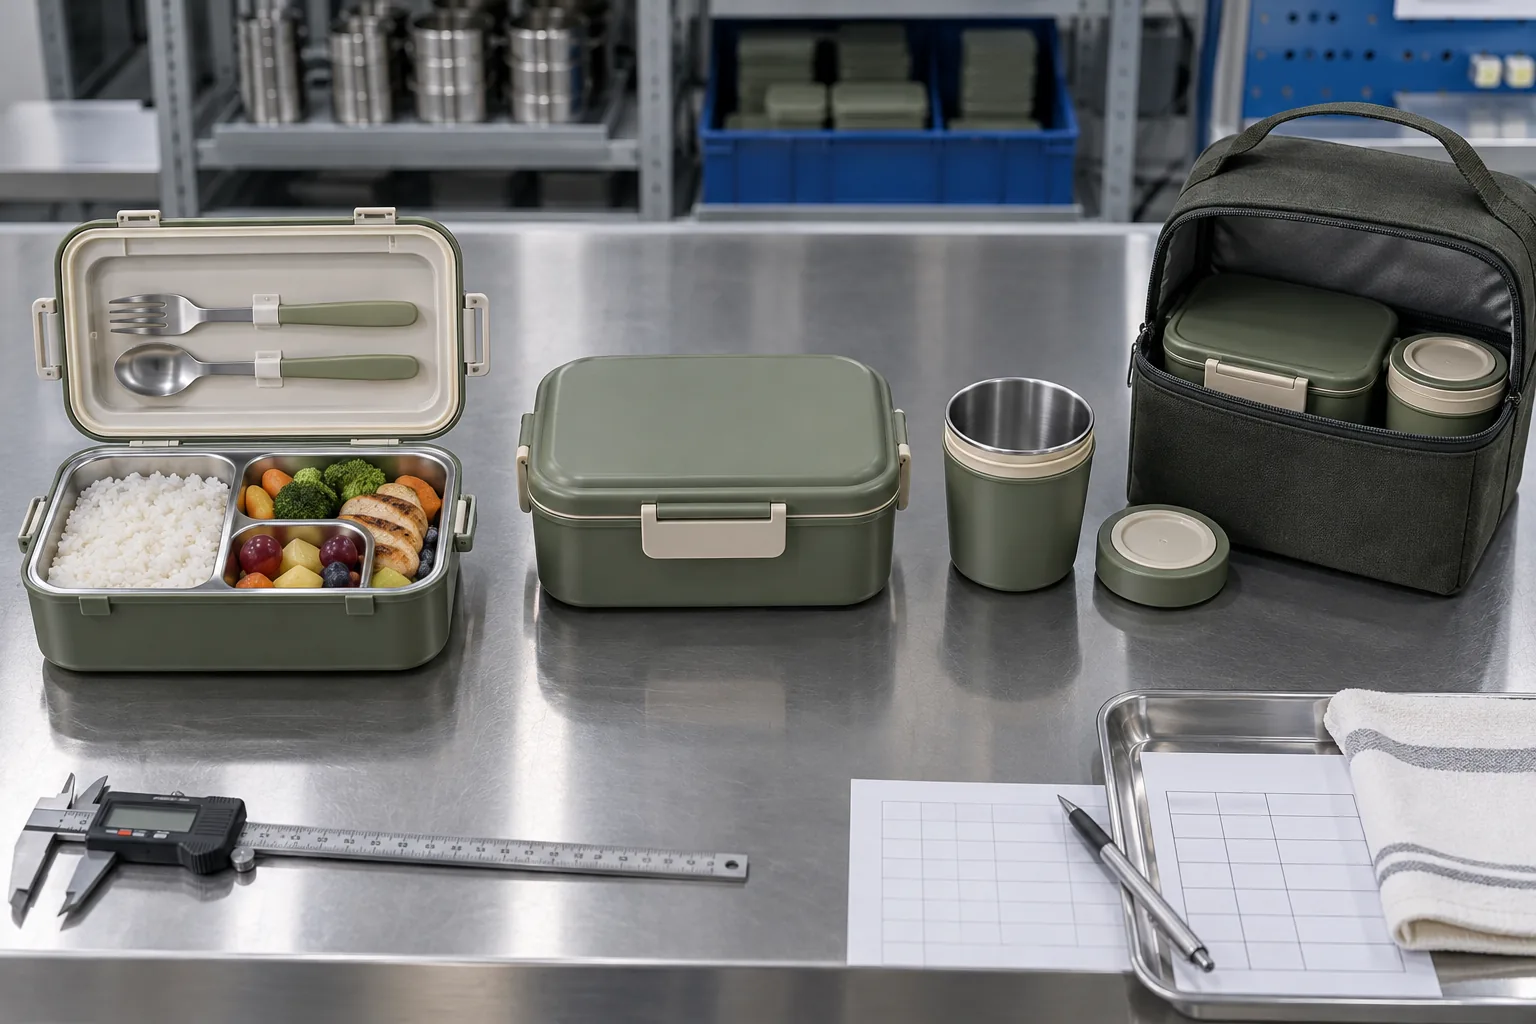
Step 5: separate component, set and pack-out inspections
The three inspection levels answer different questions. Component inspection asks whether the correct individual part is acceptable. Complete-set inspection asks whether the selected parts work and look right together, while pack-out inspection asks whether the buyer receives the correct sellable unit protected for distribution.
Combining all observations into one vague “final QC” step hides responsibility. The following comparison helps buyers assign criteria and records to the stage where they can be controlled most effectively.
| Inspection level | Primary decision | Typical evidence | Risk if omitted |
|---|---|---|---|
| Incoming component | Is the correct part and revision suitable to enter assembly? | BOM identity, drawing, approved material or color reference, condition record | Wrong or damaged components spread across many finished sets |
| In-process assembly | Do the interfaces, sequence and workmanship produce the approved function? | Work instruction, fit reference, fixture or defined functional method | Parts pass separately but fail when combined |
| Complete commercial SKU | Is the full set correct in count, appearance, fit and presentation? | Golden sample, component map, approved photographs and release criteria | Missing, mixed or poorly coordinated items reach packaging |
| Retail and export pack-out | Is the right set protected, labeled and packed in the correct quantity? | Artwork approval, pack-out drawing, carton marking and count record | Saleable product is damaged, mislabeled or shipped in the wrong configuration |
Step 6: control color, finish and branding as a coordinated set
A multi-material set can include molded plastic, silicone, metal, fabric and printed paper. The same brand color will not necessarily look identical on every substrate because gloss, texture, opacity and process change the visual result. The buyer should approve the acceptable relationship across actual materials rather than expect a digital color chip to control every surface.
Inspect logos at the agreed size, position, color and process. Check orientation after the product is assembled and packed because a correctly printed mark can still face the wrong way in the retail presentation. Artwork revisions must be controlled separately from physical component revisions.
Define appearance zones where useful. A prominent outer lid may have a different commercial sensitivity from a hidden underside, although both still require reasonable workmanship. Zone logic should be written and approved rather than invented by the inspector during a dispute.
Step 7: verify count and configuration before sealing the pack
Component count is one of the simplest checks and one of the easiest to lose in a complex set. Build a visual component map or controlled packing instruction showing every item and its location. Operators and inspectors should be able to confirm completeness without opening several documents or relying on memory.
Look for near-identical parts that can be mixed, such as left and right inserts, different utensil lengths or lids shared across size families. Use physical separation, labels, part identifiers or line controls appropriate to the operation. A final count does not catch a correct quantity of the wrong revision.
Confirm optional configurations independently. If a retail customer receives a bottle while another channel receives a cup, the carton, label and pack-out record must distinguish them. Do not average the contents across a production batch.
Step 8: inspect retail packaging and export protection together
The retail package communicates the product, while the export pack protects multiple units through handling and transport. They are connected because a tight master carton can crush a display box, and an oversized retail pack can create movement inside the shipper. Approve the complete packaging stack.
Check that artwork, barcode or other buyer-provided information uses the released file. Verify the product orientation, insert, closure and visible presentation against the approved pack-out. Any regulated statements or market-specific labeling remain a buyer responsibility that should be confirmed for the destination.
Record the actual finished weight and dimensions needed for logistics planning. Do not rely on early estimates after the carrier, insert or accessory configuration changes. If palletization or special handling is required, connect those instructions to the shipment release file.
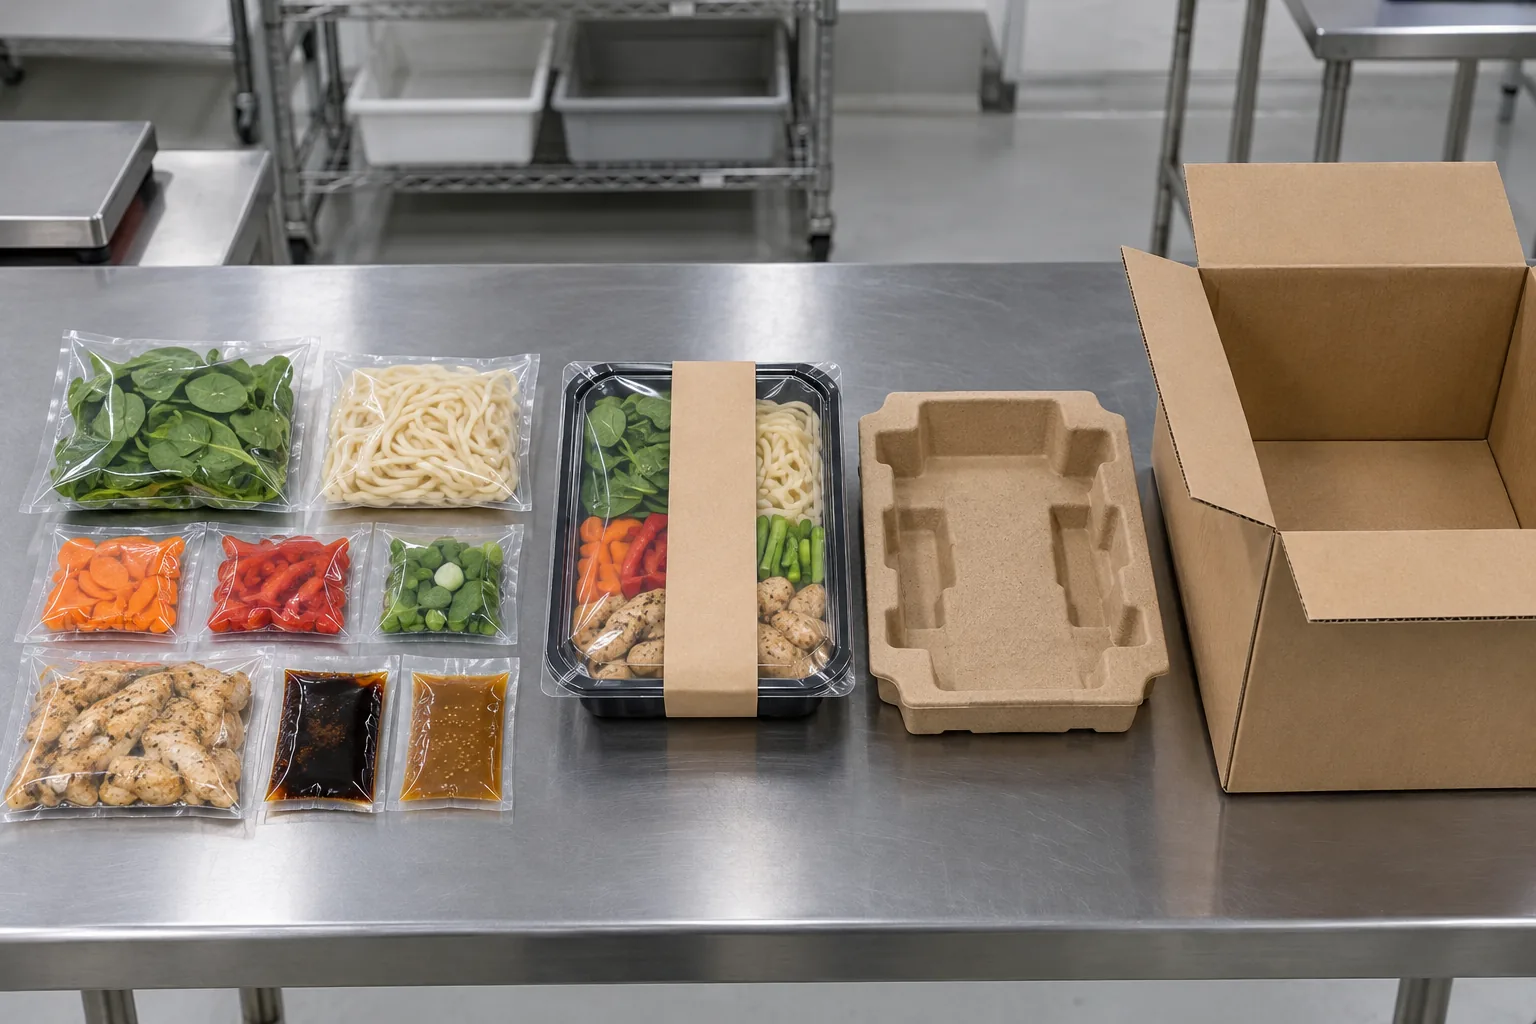
Step 9: define sampling and release authority before inspection
A sampling plan determines how units are selected and how results lead to acceptance, rejection or further action. The correct approach depends on product risk, buyer requirements, production history and any applicable standard or contract. This guide does not assign a universal AQL, sample size or threshold.
Randomness and lot definition matter. If samples are taken only from convenient cartons or from the top of a pallet, the result may not represent the shipment. Define the lot, selection method and any stratification across production time, lines, colors or configurations.
Name the release authority. An inspector can record a deviation, but commercial acceptance may require the buyer, quality manager or another authorized person. Written concession should identify the affected lot, defect, quantity, disposition and whether future production criteria change.
Step 10: preserve evidence and close corrective actions
An inspection report should make the decision understandable after the shipment has moved. Include the SKU and revision, lot identity, date, sample information, methods, results, defect photographs and disposition. Photographs need context, scale and location rather than only a close-up of an unexplained mark.
When a defect is found, containment comes before debate. Identify potentially affected material, separate it where feasible and preserve traceability. Correction, rework or sorting should follow an approved instruction and should be verified before the goods return to the release flow.
Corrective action should address cause and recurrence, not merely produce a passing retest. If a missing component came from an ambiguous packing instruction, adding one item to one box is not enough. Update the instruction, line control and verification step where the evidence supports that response.
Buyer checklist for a complete meal set inspection
| Check | Question | Why It Matters |
|---|---|---|
| SKU scope | Are every component, quantity and optional configuration identified? | Inspectors need to know the exact sellable unit being released. |
| Revision | Which BOM, drawing, artwork and sample revision applies? | Outdated references can make correct goods appear wrong or vice versa. |
| Defects | Are defect descriptions, severity and boundary examples approved? | Observable criteria reduce subjective release decisions. |
| Incoming parts | Which identities, dimensions, colors and conditions are checked before assembly? | Early control prevents incorrect parts from spreading through finished sets. |
| Interfaces | Which fit, closure, nesting and retention checks apply to the assembled set? | Component approval alone cannot prove complete-set function. |
| Claims | What approved method supports each planned performance statement? | Commercial wording should not exceed the evidence. |
| Count | How is the correct quantity and version confirmed before sealing? | Multi-part SKUs are vulnerable to missing or mixed components. |
| Packaging | Are retail presentation, markings, protection and carton quantity controlled? | The buyer receives a packed product, not loose approved components. |
| Sampling | How are lot, sample selection and acceptance decisions defined? | Sampling must represent the shipment and its risks. |
| Release | Who can approve a deviation and what record is required? | Clear authority prevents informal concessions and revision confusion. |
Frequently asked questions about meal kit inspection
Why inspect a complete meal kit if every component passed?
Individual parts can pass while the assembled set still has fit, count, movement, closure, color or packaging problems. Complete-kit inspection checks the interfaces and commercial SKU that the buyer will actually receive. It complements component inspection rather than repeating it.
Should every meal kit use the same inspection plan?
No. The plan should reflect the approved SKU, materials, construction, intended use, buyer requirements and applicable market obligations. A generic checklist may provide prompts, but it cannot replace project-specific criteria and references.
How should a buyer define defect severity?
Classify defects by their effect on safety, legal compliance, intended function, appearance and saleability. Approve written descriptions and representative examples where useful. Sampling and acceptance rules should be settled before final inspection, not negotiated around a failed lot.
Can a golden sample replace drawings and a BOM?
No. The sample shows physical relationships but cannot reliably identify every material, dimension, artwork file or packaging requirement. Use it with controlled specifications, the BOM and approval records so the team knows what the sample represents.
What should a buyer send for an inspection review?
Send the SKU BOM, drawings, approved samples, planned claims, target market, packaging files, component count, defect definitions and shipment plan. Naike Tableware can then discuss feasible checkpoints and records for the project without inventing a universal standard or unsupported result.
Conclusion: make meal kit quality inspection release-ready
A release-ready meal kit quality inspection plan follows the product from incoming parts through assembly, complete-SKU review and final pack-out. It uses controlled references, observable defects, defined sampling and clear release authority. Most importantly, it checks the interactions that appear only after several acceptable components become one sellable set.
Send your component list, drawings, sample status, target market and packaging plan for a factory-side discussion. Naike Tableware can review how the inspection sequence should connect to your selected SKU, while final criteria, sampling and market obligations remain subject to project confirmation.
Editorial note: these original conceptual images illustrate purchasing and inspection decisions; they do not represent certified results or a fixed inspection standard.