
Custom Tableware Tooling Files: Short Answer
The essential custom tableware tooling files are a dated, revision-controlled pack that defines the complete sales unit: 2D dimensioned drawings, available 3D models, material and finish choices, critical fit and tolerance requirements, brand artwork, packaging brief, target market, and an approval route. Mark anything undecided as open. The supplier should confirm manufacturability, ownership, cost assumptions, sample gates, and the released revision before cutting steel. A reference photograph or a purchase order alone is not a tooling specification.
What Is the Tooling Scope for the Complete Tableware Set?
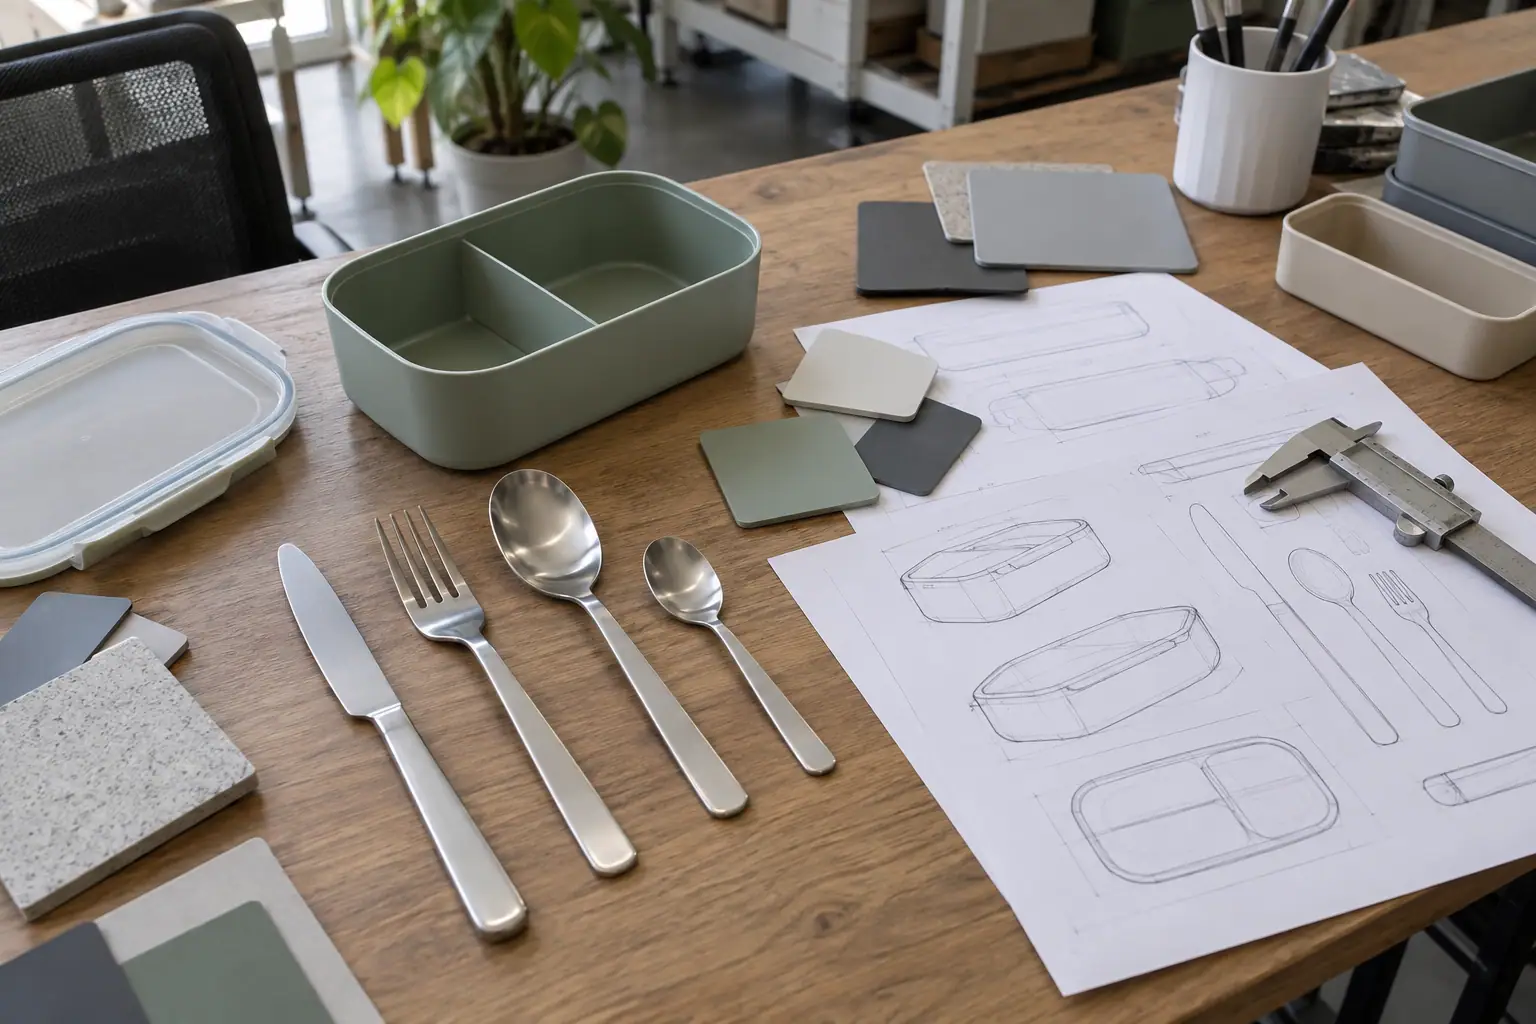
Begin with the unit the buyer intends to sell, not just the part that needs a mold. List every lunch box, lid, divider, cutlery piece, tray, sleeve, carry bag, label, and retail carton. Identify which components use existing shapes, which need dimensional changes, and which require a new tool. This prevents a tray from being approved before anyone tests whether the utensils, closure and packed unit work together.
Assign a part number and revision to each component. For custom tableware tooling, a simple bill of materials should connect those parts to the assembled set and pack-out quantity. If a material or component remains a candidate, give it a provisional status rather than describing it as approved. The portable tableware RFQ checklist covers the earlier commercial brief; a tooling pack is the narrower technical release that follows an agreed direction.
For a family of products, explain the shared and variant parts. A buyer may want one base tray with several utensil combinations or a common lid with multiple container depths. State which interfaces must remain interchangeable. Ask the supplier to identify where a shared tool, insert, or separate tool makes sense; do not assume that a visual similarity makes tool sharing technically possible.
Which 2D Drawings and 3D Files Should Buyers Send?
Send native editable CAD files when available, plus a neutral exchange format and a PDF drawing that a reviewer can read without specialized software. Name the software version and units. Put the revision, issue date, part number and approver on the drawing. If CAD is not yet available, supply measured samples and a clear dimensioned sketch, then make engineering definition a separate, approved project stage before tooling begins.
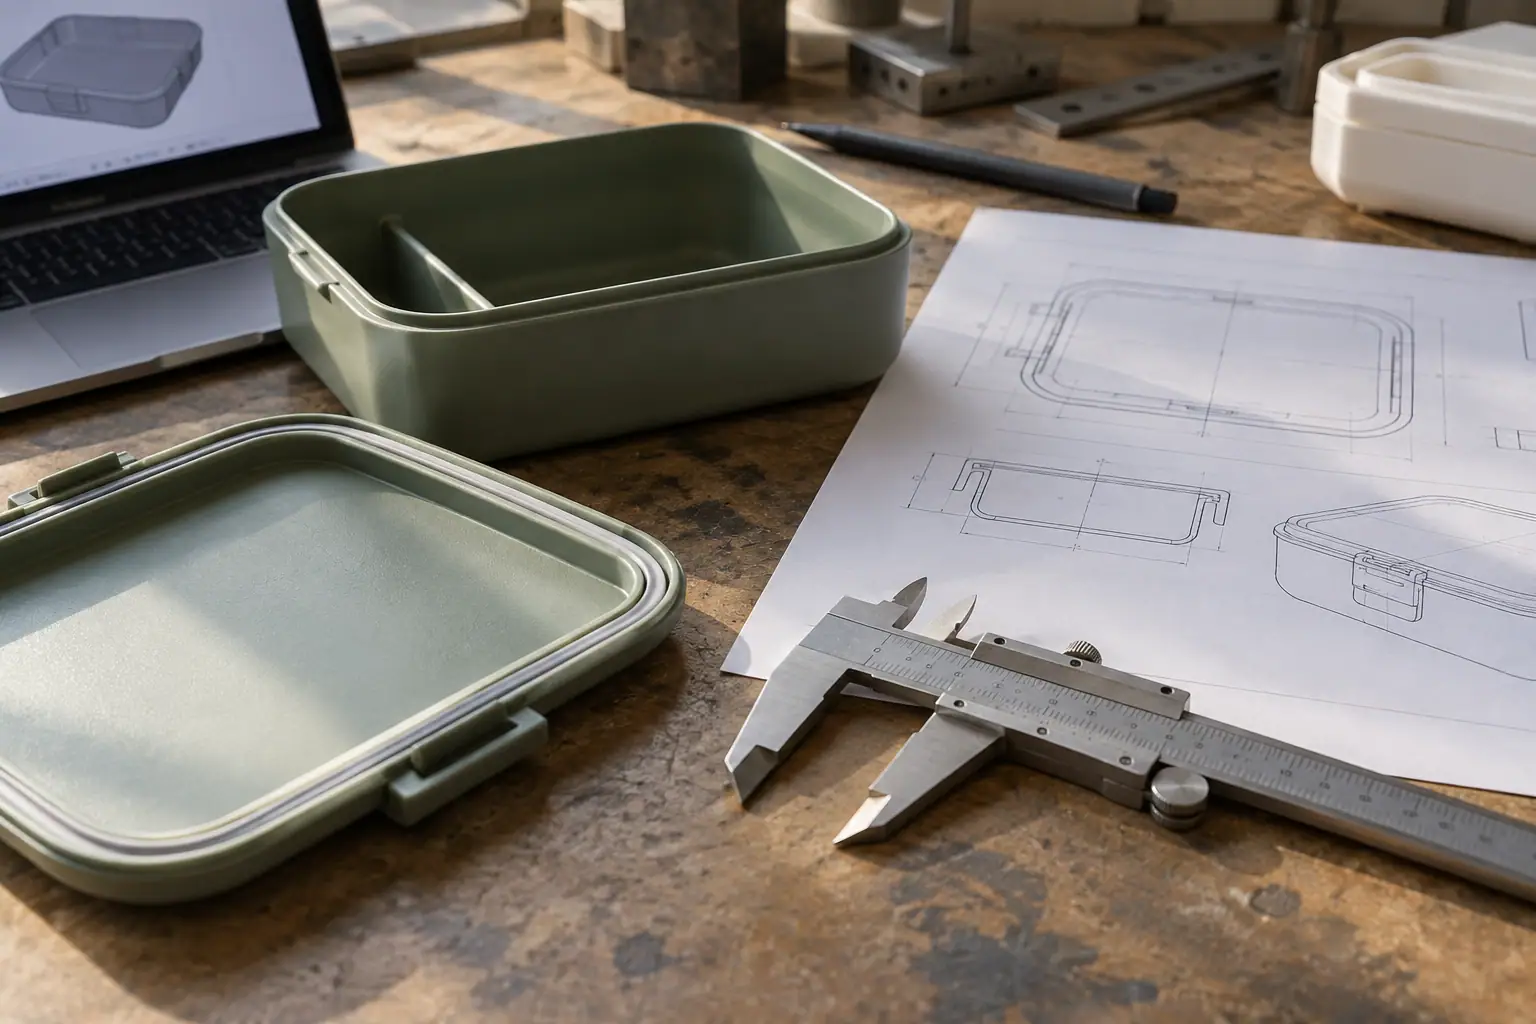
The 2D drawing should call out overall dimensions, wall thickness where relevant, datums, critical mating dimensions, closure geometry, radii, surface finish zones, and any dimensional tolerances that matter to function. A 3D model is valuable for geometry and assembly checks, but it may not communicate inspection criteria or a tolerance strategy by itself. Conversely, a flat PDF may not fully convey curved nesting surfaces. Provide both when the project calls for them.
For a cutlery tray, indicate the longest utensil, handle width, clearance at each retaining rib, removal access, and how the tray enters its carry sleeve. For a lidded container, identify the lid-to-body interface, gasket or seal concept if applicable, and the intended opening force or leak-performance question to be validated. These are project requirements to define and test, not claims about an unapproved product.
Revision discipline: Put only one released file pack in the supplier’s working folder. Keep old versions archived and label changes in a short change log. A new email attachment that quietly changes a radius or logo location can invalidate a sample or quote. Ask the supplier to acknowledge the exact revision before tooling authorization.
How Should Materials, Fit and Quality Criteria Be Defined?
Give a material candidate for each part, desired color and finish, intended use conditions, and the target market. Separate mandatory requirements from preferences. “Food-grade” without a specific applicable market, contact condition or evidence request is too vague to guide material selection. Request a proposal where material choice is open, then approve the final grade and evidence at the SKU level.
Define the interfaces that drive buyer experience: stacking, nesting, carry-bag pocket layout, cutlery retention, lid closure and the packed footprint. A dimensional tolerance should be tied to a functional reason. For instance, a tray can pass an outer-length check yet fail if a fork catches on an internal rib. Agree how the supplier will measure the critical features and what sample or fit test will demonstrate acceptance.
For multi-material sets, state whether color matching is visual or instrument-based and which reference sample controls approval. Note that stainless steel finish, molded PP color and textile color can look different under the same lighting. A common Pantone reference may start discussion, but it does not by itself guarantee identical appearance across those substrates.
File Purpose at a Glance
- 2D drawing
- Dimensions, tolerances, finish zones and inspection references.
- 3D model
- Shape, assembly, interference and tooling feasibility review.
- Physical sample
- Touch, fit, finish and user handling reference; identify its revision.
- Bill of materials
- Complete sales-unit components and the relationship between parts.
- Approval record
- Who accepted which revision and what remains open before release.
What Logo, Color and Packaging Files Are Needed?
Supply vector artwork where possible, the intended logo size and placement, permitted colorways, minimum clear space, and examples of unacceptable distortion. Specify whether the brand belongs on a metal utensil, molded tray, textile sleeve, paper band, carton, or several of those. Ask the supplier to explain the viable marking method for each substrate before locking artwork. A process suitable for flat paper will not necessarily reproduce the same detail on a curved utensil handle.

For retail packaging, send a sales-unit count, carton style, preferred opening direction, label content, barcode owner, any required languages and a packaging dieline if one is approved. If the supplier is expected to develop a dieline, mark that as a deliverable with its own approval stage. Identify whether transit packaging, individual retail packaging and the reusable carry sleeve are separate layers. This avoids quotes that compare different pack-outs.
Keep the editable artwork, print-ready output and an approved proof together. Provide only brand assets you have the right to authorize. Tooling, logo ownership and usage rights should be addressed in the commercial agreement rather than inferred from who supplied a drawing. The WIPO guidance on supplier IP agreements is a useful starting point for that conversation, not a substitute for project-specific legal advice.
What Target-Market and Validation Information Belongs in the Pack?
State the destination market, intended users, foreseeable contact with food, temperature and cleaning assumptions, and any buyer-specific test protocol. Ask the supplier which material declarations, test reports and production records can be supplied for the final SKU. Do not treat a generic material sheet as proof that every finished configuration meets a particular market’s rules. Legal and testing requirements vary by jurisdiction and application; qualified review is needed before a compliance claim is published.
Include the desired sample checkpoints: appearance sample, functional fit sample, pre-production sample, approved packaging sample and any testing stage relevant to the project. Define the evidence needed at each gate. A signed sample, dated photos and change log can make later decisions clearer, but the buyer should not mistake a rendered image for a production sample.
If a new tool may affect an existing part, request a compatibility check across the full set. A change to a tray rib can alter the cutlery fit; a sleeve change can alter the packed footprint and carton count. The supplier should list dependencies and unresolved risks before the buyer authorizes tooling.
A Practical Custom Tableware Tooling Release Checklist
- Scope: one dated bill of materials, part numbers, quantities and clear new-tool versus existing-part status.
- Geometry: 2D drawing and 3D model for each new or changed part, units, revision and critical interfaces.
- Materials: candidate or approved grades, color references, finish zones and handling conditions.
- Brand: editable logo files, placement, permitted methods and ownership/usage terms.
- Pack-out: assembled sequence, sleeve or bag layout, retail carton and label responsibilities.
- Market: destination, relevant requirements and SKU-level evidence to be reviewed.
- Approval: named buyer approver, supplier feasibility response, open-issue log and a release date.
For custom tableware tooling, ask the supplier to return a gap list rather than silently filling blanks. A useful response identifies ambiguous dimensions, draft angles or material substitutions, estimated tooling route, sample stages and any quoted exclusions. Do not approve a tool solely because a quotation appears complete. The buyer can use Build Your Set to frame the configuration and request a project review with the controlled pack.
FAQ
Can a buyer begin tooling with only a reference photo?
No. A photo can express appearance or a use case, but it does not define dimensions, tolerances, material, fit, ownership or approval criteria. Make engineering definition a separate stage before releasing tooling.
Are both STEP and native CAD files necessary?
They serve different purposes. A neutral 3D exchange file makes geometry easier to share; native files may preserve editable design intent. Confirm the supplier’s software and provide a dimensioned PDF drawing as the review baseline.
Who should approve a tooling revision?
Name an authorized buyer approver and require the supplier to confirm the revision it will use. Keep a dated record of changes and affected parts; a verbal approval is difficult to audit.
Should packaging artwork be finished before cutting the product tool?
Not every print detail must be final, but the physical pack-out, logo zones and any product features driven by packaging should be defined. Treat unresolved artwork as an explicit later approval rather than assuming it cannot affect dimensions.
Does a material declaration prove finished-set compliance?
No. It may be one input. The finished SKU, intended contact conditions and target market determine what further evidence and review are appropriate.
Ready to review a specific set? Explore the partitioned cutlery review kit, then send your controlled files through the independent inquiry form. List open questions; do not invent missing measurements to make the brief look complete.