
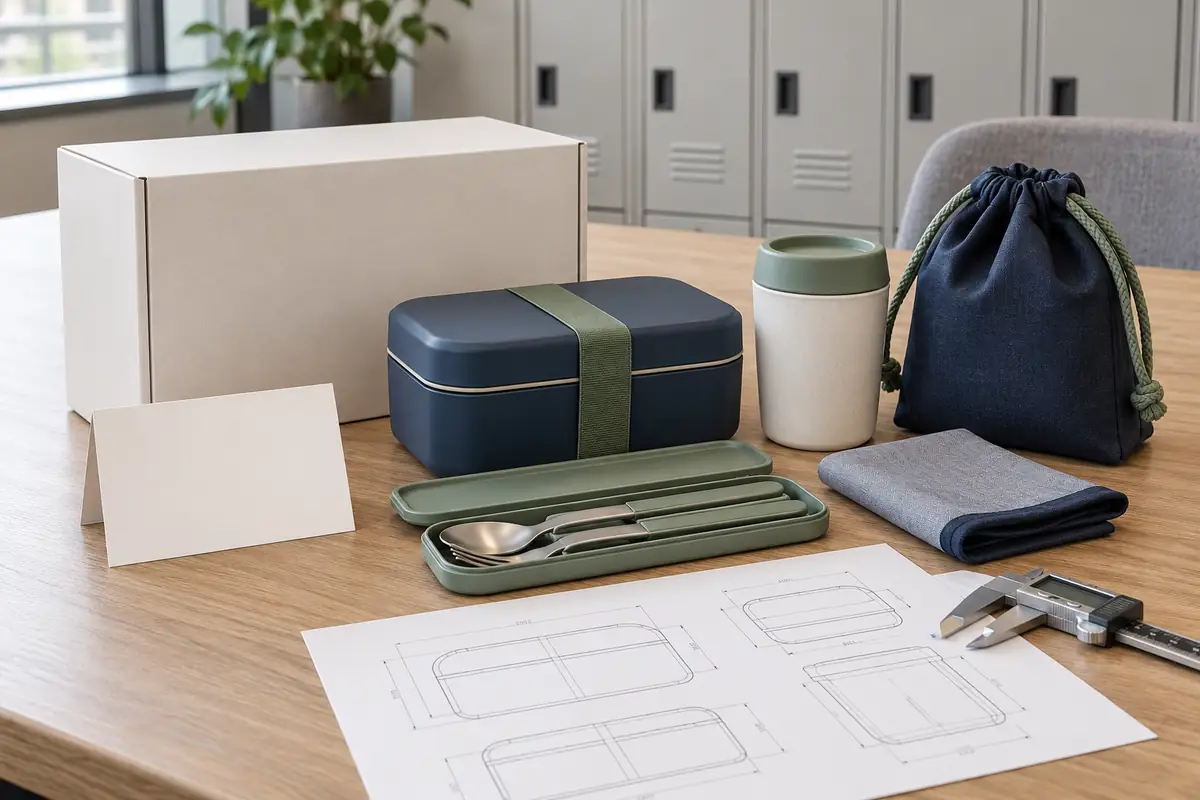
Design the welcome kit around daily use and pack-out
A corporate welcome lunch kit should combine a practical meal container, controlled utensils, an appropriate carry format and onboarding packaging without creating unused parts or excessive shipping volume. Buyers should compare compact system architectures, confirm the finished packed dimensions, define branding by component and approve replacement parts before releasing the welcome box artwork.
Welcome packs sit between merchandise, employee equipment and internal brand communication. A lunch kit inside that pack will be judged twice: first during unboxing and again during repeated daily use. The attractive presentation must therefore support a product that is easy to carry, open, wash, store and replace.
From the factory side, “one branded lunch box for new employees” is not yet a purchasing specification. The supplier still needs to know the user scenario, food format, material preference, branding method, packaging dimensions, distribution route and destination market. Without those decisions, quotations can include different product scopes while appearing comparable.
This guide does not publish a universal MOQ, capacity, lead time, test result or material claim. Those details depend on the selected SKU, customization route, order quantity and market. The framework helps importers, corporate gifting companies, HR procurement teams and private-label distributors decide what must be fixed before sampling.
Start with the onboarding objective, not the gift list
Decide whether the kit is primarily daily equipment, a culture item, a sustainability initiative, a remote-employee shipment or a retail-style reward. Each objective changes the balance between utility, presentation, branding area and packaging cost. A product intended for regular office lunches should not be selected only because it fills a box attractively.
Describe the expected user environment. Commuters may value compact bag fit, office kitchens may favor simple cleaning, and field teams may need a more secure carry format. If the workforce is mixed, prioritize the broadest common use rather than adding accessories for every possible scenario.
Map the distribution route from factory carton to employee. Kits may be delivered to one office, split across regional locations or shipped individually to home addresses. The outer packaging, labeling and acceptable packed weight can change significantly across those routes.
Set a target cost structure instead of only a product price. Include the container, utensils, pouch, inserts, printed card, individual box, master carton and assembly work. A low-cost lunch box can become an expensive welcome pack when its shape requires oversized packaging.
What a corporate welcome lunch kit brief should contain
The brief should state the employee profile, intended food use, material preference, approximate capacity, maximum packed size, quantity, destination markets, required branding and distribution method. It should also distinguish mandatory items from optional ideas. This allows the supplier to propose existing formats before assuming that every component needs custom tooling.
Provide the brand assets only after the printable zones and process have been reviewed. A logo file does not define color tolerance, print position, artwork size or the effect of curves and textures. Include packaging copy, variable labels and card requirements in the same artwork schedule.
Compare compact lunch kit architectures before choosing one
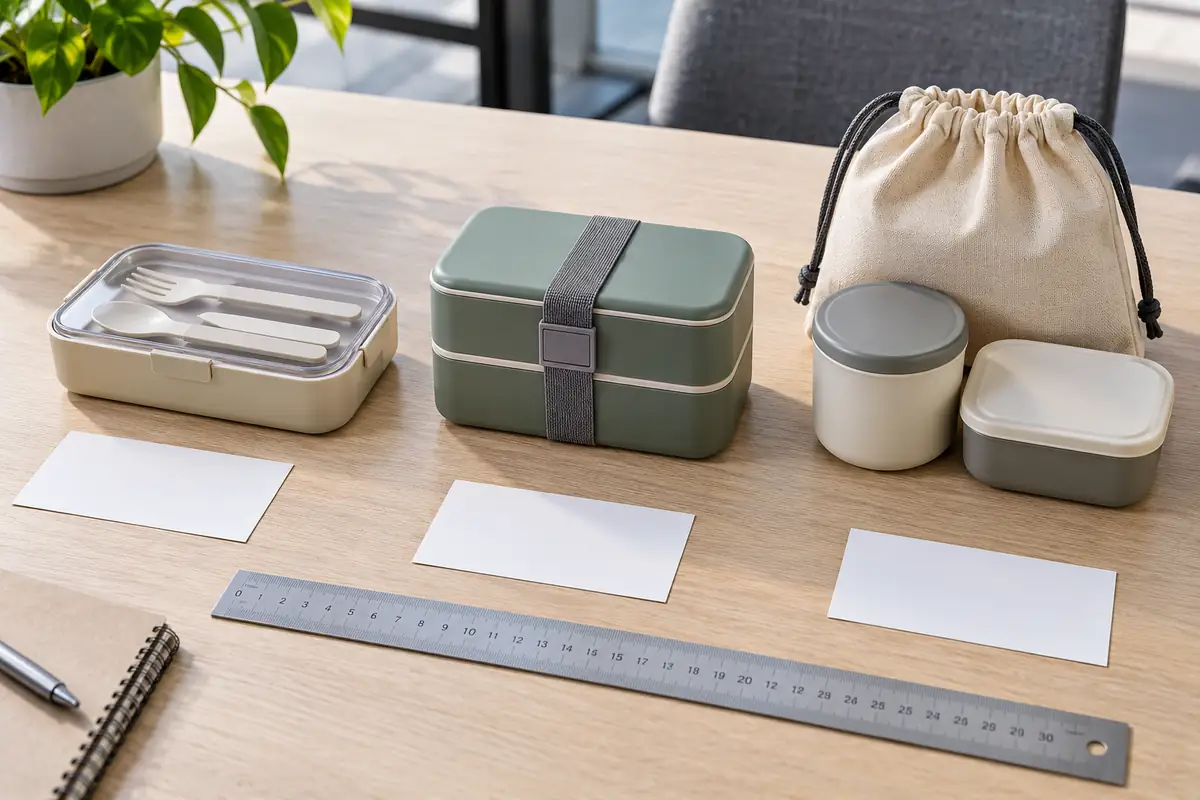
A slim single-layer box uses one main footprint and can place cutlery under or above the lid. It creates a clear product story and often fits easily into a backpack. The buyer must confirm whether the available depth and compartment layout match the intended meals.
A two-tier bento separates foods vertically and creates more visual presence during unboxing. It also adds a tier interface, band or latch system and greater stack height. Check whether employees need both tiers every day or whether the second layer will be left unused.
A modular box-and-cup format can serve users who prefer separate items. It offers flexible loading, but it increases part count and can require a pouch or insert to prevent movement. The buyer should decide whether the flexibility justifies the additional replacement and counting work.
A compact meal kit can also use a stainless steel inner container with a polymer or silicone lid system. This changes weight, appearance, material evidence and branding options. Compare the complete architecture rather than choosing the body material in isolation.
| Format | Buyer advantage | Main tradeoff | Approval focus |
|---|---|---|---|
| Slim single layer | Simple product story and compact backpack profile | Limited depth or separation depending on design | Usable capacity, cutlery storage and lid clearance |
| Two-tier bento | Separate food zones and stronger unboxing presence | More parts, taller pack and possible daily overcapacity | Tier interface, strap or latch, stacking and cleaning |
| Box plus separate cup | Flexible food organization and modular replacement | Extra lids and potential movement inside the pouch | Component count, retrieval and pack-out retention |
| Metal inner container system | Distinct material expression and durable visual character | Weight, mixed-material interfaces and different branding limits | Edges, lid fit, finish protection and complete-set evidence |
Specify what employees will handle every day
Define capacity as usable space, not only a catalog volume. Rounded corners, dividers and lid features can reduce practical loading. Request drawings or measured samples and record where any fill reference applies.
Review the opening force and closure sequence with the intended user group in mind. A very tight closure may feel secure during an initial review but become frustrating in daily use. Any leak-resistance or transport claim needs a defined test method for the complete selected SKU.
Decide whether dividers are fixed, removable or omitted. Fixed dividers simplify part control, while removable parts allow employees to change meal layouts. Removable pieces also create additional washing and replacement obligations that procurement should recognize.
Utensils need a controlled storage position. Loose cutlery can scratch the container, move during shipping or disappear from the welcome box. An integrated lid area or slim case may improve organization, but its dimensions must not interfere with closure or food space.
Map every material in the set, including seals, bands, coatings, pouch fabrics and packaging. Material evidence should match the finished component, intended use and destination market. Do not let a broad sustainability phrase replace component-level specification.
Use branding that survives both unboxing and washing
Choose a branding method after reviewing the product surface. Flat lids, curved bodies, textured pouches and metal finishes accept decoration differently. A process that produces a sharp sample on one surface may not suit another component.
Set the logo size and position on a dimensioned artwork drawing. Centering should be defined relative to visible product geometry, not only the raw part outline. Lid features, straps and packaging inserts can change what employees actually see.
Approve color across the whole kit. Molded resin, coated metal, fabric, ink and paperboard may not reproduce one reference identically. Decide whether the goal is an exact family, an intentional contrast or a neutral product with one branded accent.
Keep the welcome message on a card or sleeve when product artwork would become crowded. This separates time-sensitive onboarding copy from the reusable item. It can also reduce the risk of obsolete printed inventory when internal messaging changes.
Define an appearance sample and practical durability review for every decorated surface. Cleaning, abrasion and repeated handling affect the product differently from a box seen once during unboxing. Record acceptable variation before production rather than evaluating it only after delivery.
Design the welcome box after measuring the complete kit
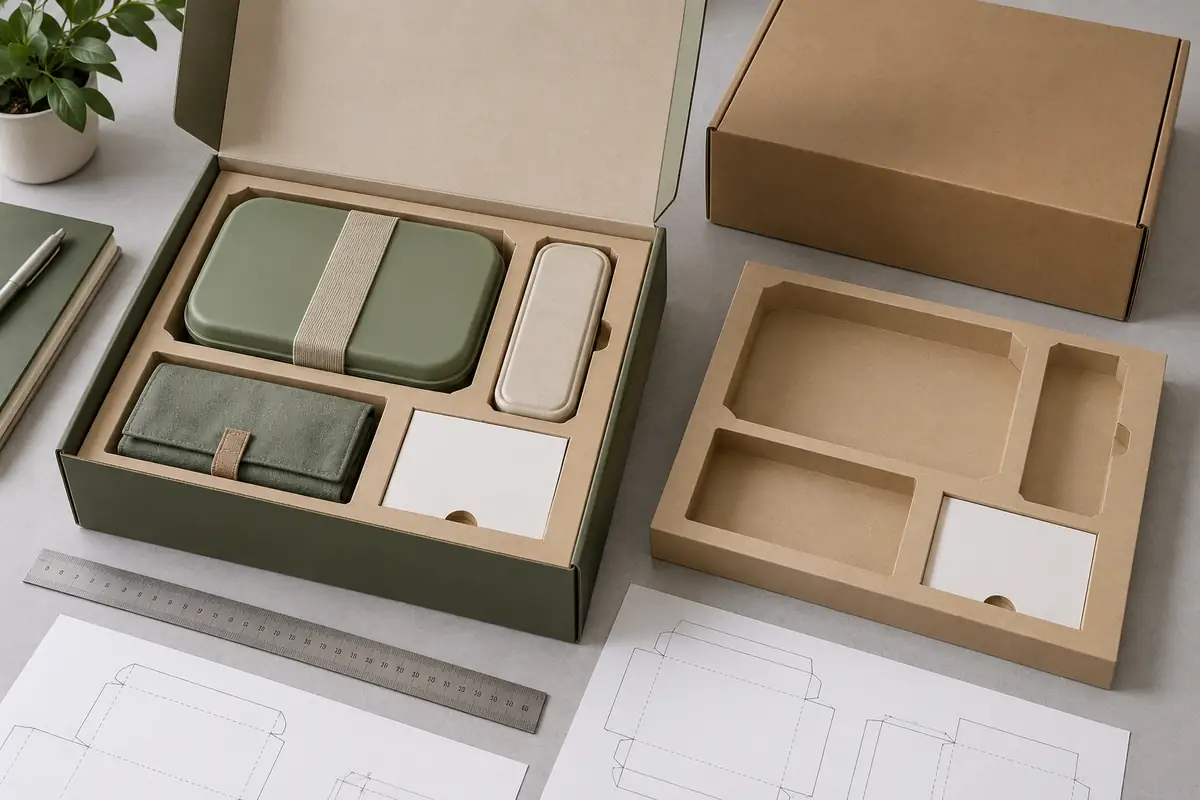
Build the pack-out around actual samples or confirmed finished dimensions. Nominal CAD dimensions may not include fabric bulk, straps, zipper corners or protective wraps. Measure the closed product arrangement and include realistic assembly clearance.
Decide the unboxing order. The welcome card may sit above the lunch kit, while utensils and small parts need visible, retained positions. A neat initial presentation should not require adhesive that leaves residue on reusable products.
Use inserts only where they protect or organize the kit. Paperboard structures can separate components and present branding surfaces, but every wall consumes space and material. Compare a fitted insert with a pouch-based pack-out before selecting the more complex option.
Check movement in the closed box. Components that look aligned on an open table may shift during parcel handling and arrive scuffed or disordered. Agree a project-specific transit and handling review instead of assuming the master carton will control every individual pack.
Calculate master-carton quantity from the finished retail box, not from the lunch box alone. Small increases in height or width can change carton count and freight volume. The packed-dimension decision belongs in the commercial comparison before artwork is released.
Plan ordering, distribution and replacement parts
Confirm whether welcome packs are produced in one launch batch or replenished throughout the year. Continuous onboarding programs need repeat-order logic, stable colors and manageable component availability. A highly customized accessory can become a bottleneck when only a small replacement quantity is required.
Separate complete-kit inventory from replacement parts. Lids, seals, bands, utensil cases and pouches can be lost or damaged while the main container remains usable. Decide which parts the supplier can identify and quote separately.
Use one controlled bill of materials for procurement and packing. It should list quantities, colors, artwork revisions, packaging pieces and any market-specific inserts. This prevents regional teams from receiving kits that look similar but contain different parts.
Ask how mixed destinations will be labeled and packed. Country-specific documents, address labels or employee names may be added at different stages. The party responsible for variable data should be identified before production files are exchanged.
Review overrun and spare-part quantities as a program decision. Too few spares can force complete-kit replacement, while excessive custom parts create obsolete stock. The appropriate level depends on distribution scale, part interchangeability and the expected program duration.
Use samples to remove pack and product risk in stages
Begin with existing samples to compare footprint, capacity and architecture. These reference samples do not approve the final material, color or branding. Their purpose is to narrow the product route before detailed packaging work begins.
Next approve material and decoration samples. Review molded colors, fabric swatches, metal finish and printed logos separately when necessary. Record the chosen direction and the limitations that still require an assembled sample.
The assembled functional sample should include the intended lid, seal, divider, cutlery, case and carry format. Check opening, closure, cleaning access, component retention and packed size. Any provisional substitute should be marked in the sample record.
Finally, build a complete welcome-box sample using the intended insert, card, sleeve and protective materials. Treat it as the golden reference only when product and packaging revisions match. Photograph the pack-out sequence and keep measurable acceptance points with the sample.
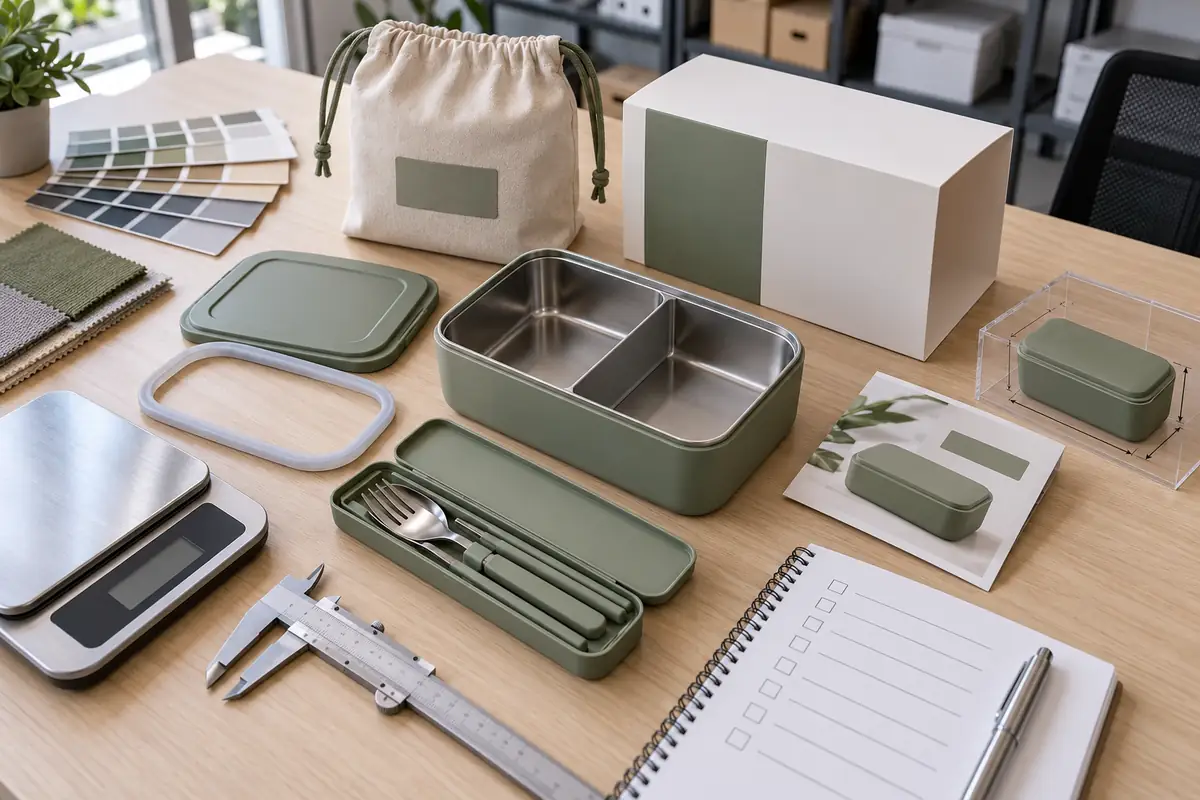
Buyer checklist for corporate welcome lunch kits
| Check | Question | Why It Matters |
|---|---|---|
| Program objective | Is the kit daily equipment, a brand gift or both? | Sets the balance between utility and presentation. |
| User scenario | Where will employees carry, store and wash the kit? | Connects design choices to actual use. |
| Architecture | Is the kit single layer, tiered or modular? | Controls component count and packed dimensions. |
| Usable capacity | How is finished capacity measured? | Prevents catalog volume from replacing sample review. |
| Closure | What opening and transport conditions must be evaluated? | Defines functional approval without vague claims. |
| Utensil storage | Are utensils retained without reducing useful food space? | Reduces movement, scratches and missing parts. |
| Branding | Which process, size, position and color reference are approved? | Makes decoration repeatable across production. |
| Pack-out | Can the box close without pressure or loose movement? | Protects presentation and components during delivery. |
| Carton data | Are master-carton assumptions based on final packed boxes? | Supports realistic freight and storage planning. |
| Replacement parts | Which lids, seals, utensils and pouches can be reordered? | Extends program usefulness without replacing full kits. |
| Evidence | Do documents match materials, SKU and destination market? | Generic files may not support the delivered configuration. |
| Golden sample | Does one retained sample include product and packaging revisions? | Provides a shared production and inspection reference. |
Build an RFQ suppliers can quote consistently
List every included component and its quantity. Specify the container format, lid, seal, divider, utensils, case, pouch, printed card, sleeve, insert, individual box and master-carton requirement. Suppliers can then identify omissions instead of hiding different assumptions inside one unit price.
Ask for standard, configured and new-tooling routes where relevant. An existing lunch box with custom color and packaging may achieve the program objective faster than a completely new structure. A custom insert or pouch can create a distinctive pack without changing the main food container.
Request sample lead time and production lead time separately. State which approvals must happen before artwork, material ordering and mass production. This sequence helps the buyer understand which decisions drive the schedule.
Provide quantity, delivery destinations and launch timing. MOQ and production conditions should be confirmed by SKU and customization route rather than copied from another program. If annual replenishment is expected, ask the supplier to explain how colors and replacement parts will be controlled.
Frequently asked B2B questions
What belongs in a corporate welcome lunch kit?
Include only components that support the intended employee use and onboarding presentation. A practical core is a meal container and controlled utensils, with a pouch, cup or packaging element added when the scenario justifies it.
Is a two-tier bento better than one compact box?
Neither format is universally better. Compare usable capacity, daily food pattern, stack height, part count, washing and welcome-box dimensions before choosing.
Should the logo be printed on every component?
Not necessarily. One strong product mark and coordinated packaging may create a cleaner result than repeating the logo. Review decoration cost, surface suitability and long-term appearance for each part.
When should the welcome box artwork be finalized?
Finalize artwork after the product configuration and packed dimensions are stable. Early artwork can require rework when container height, pouch bulk or insert clearance changes.
What information is needed for a useful supplier quotation?
Send the employee scenario, product format, capacity range, material preference, quantity, branding, packaging, destination markets and delivery target. Mark optional components so suppliers can price comparable base and upgraded routes.
Conclusion: make the welcome item useful after day one
A strong corporate welcome lunch kit connects daily usability with controlled branding, compact packed dimensions, responsible component selection and repeatable supply. The lunch box, utensils, carry format, welcome message and shipping box should be reviewed as one commercial system. That approach improves quotation comparison and reduces last-minute packaging changes.
Send the intended employee scenario, quantity, destination, preferred product format, branding files and packaging target for review. Naike Tableware can then identify suitable existing configurations and the details that require sample confirmation.