
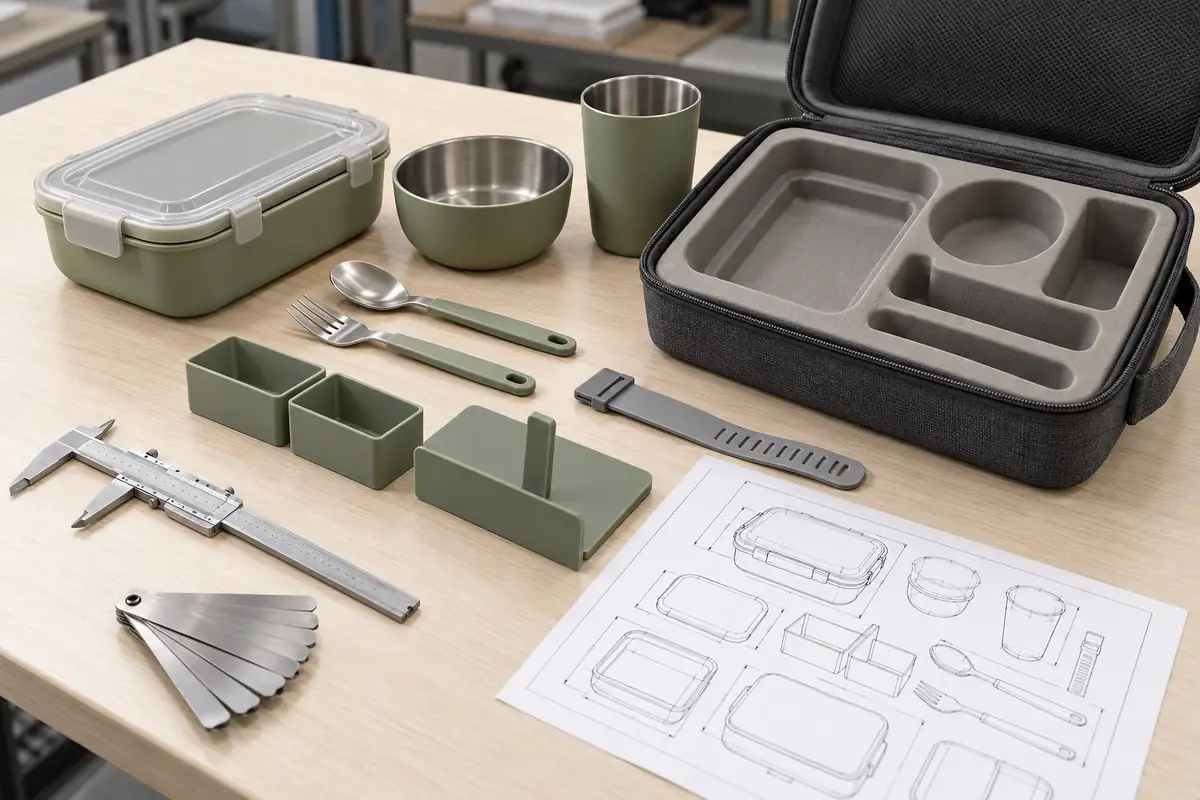
Control movement without making the kit difficult to use
Dining kit component retention should limit the movement that creates impact noise, rubbing and visible scuffing while preserving quick retrieval, cleaning and correct repacking. B2B buyers should diagnose the movement path first, then choose geometry, dividers, sleeves or case features for each interface and validate the complete packed SKU under realistic handling.
A portable dining kit can look precise on a presentation table and still disappoint when a buyer carries it across a car park. A spoon taps a cup, a lid rubs a bowl, or a loose divider shifts until the case sounds unfinished. The problem is rarely “noise” alone. It is evidence that the packed system has uncontrolled freedom of movement.
Importers, brands and wholesalers should treat rattle and scuffing as pack-out engineering questions. The parts, finishes, tolerances, carry orientation and user sequence all influence the result. This guide explains how to turn a vague request for a “quiet premium set” into checks a supplier can quote, sample and repeat.
Contents
- Diagnose the movement before adding restraints
- Classify every contact interface
- Compare retention methods by function
- Allow for tolerance and finish variation
- Protect retrieval and cleaning
- Validate realistic handling
- Buyer checklist
- B2B buyer FAQs
Diagnose the movement before adding restraints
Begin by asking which component moves, in which direction and what it touches. A retention feature selected before this is understood may suppress one noise while creating pressure, deformation or a new rub point elsewhere.
Ask the supplier to pack the approved component sequence and move the kit one axis at a time. A vertical lift, short horizontal shake and controlled inversion reveal different freedoms. Record the first audible impact and then open the kit without rearranging it, because the displaced part often shows the actual path.
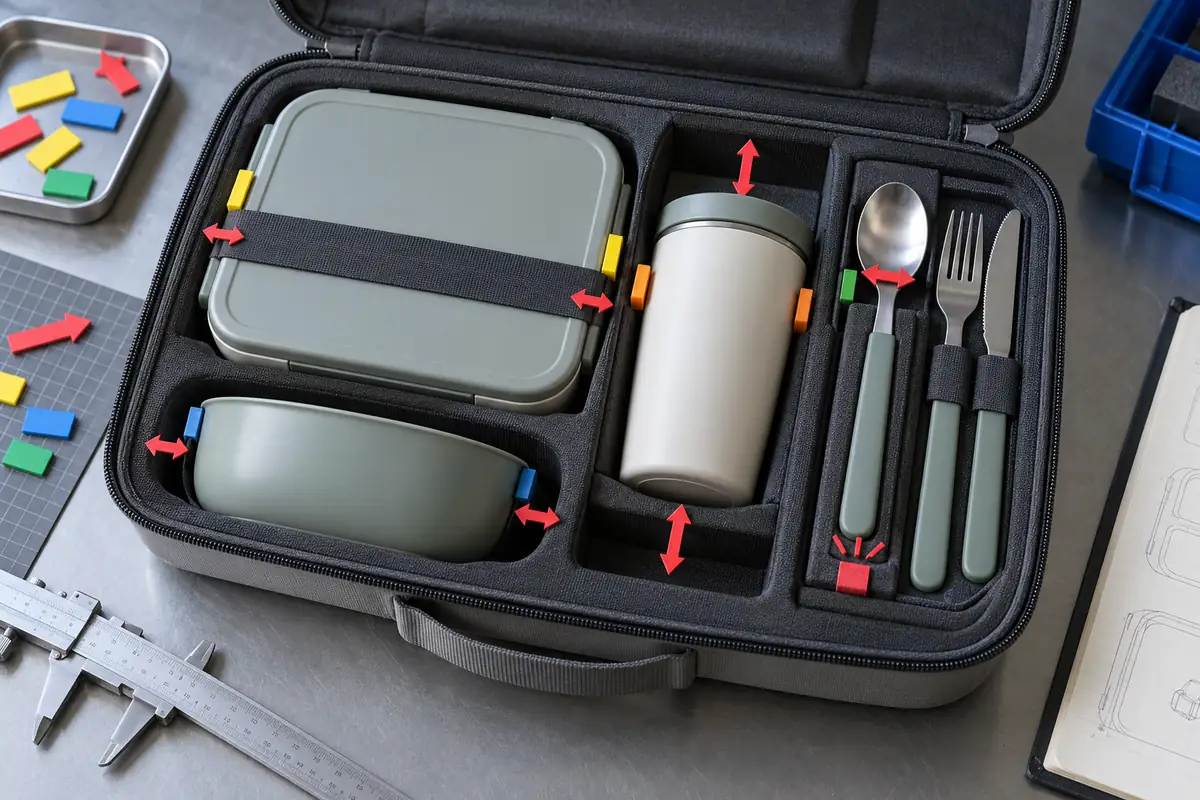
Build a dining kit component retention map
A useful map identifies every component, its intended pocket or nesting location, the direction it can travel and the surface it may strike. Mark visible cosmetic areas separately from hidden functional contact zones. This prevents a team from accepting a quiet sample that achieves silence by rubbing two presentation surfaces together.
Use removable witness tabs or non-staining inspection media only when appropriate for the material. The purpose is to locate contact, not to imitate a laboratory abrasion result. Any formal performance claim should use a defined test plan agreed for the actual SKU and destination market.
Separate impact noise from rubbing and unstable stacking
Not every sound indicates the same failure mode. A single sharp click may come from free travel followed by impact. A continuous scrape may indicate surface contact during insertion. A dull shifting sound may come from a stack that is retained as a group but not located inside the outer case.
Buyers should classify the interface before requesting a fix. That classification determines whether the team should reduce clearance, redirect contact, soften a stop, restrain a stack or change the packing order.
| Observed symptom | Likely movement mode | Possible control route | Approval risk |
|---|---|---|---|
| Sharp intermittent click | Free component impacts a hard neighbor | Dedicated pocket, keeper or controlled stop | Too-tight retention may hurt retrieval |
| Repeated light tapping | Small clearance allows cyclic contact | Reduce free travel or separate the interface | Variation may restore the clearance |
| Visible rub line | Sliding contact during packing or transport | Redirect support to a hidden durable zone | Separator may trap soil or moisture |
| Whole stack shifts | Case cavity is larger than the assembled pack | Perimeter location, compression pad or shaped insert | Compression can load lids or seals |
| Noise after parts are removed | Optional configuration lacks retention | Flexible pocket or configuration-specific insert | One case may not suit every sellable BOM |
This table is a diagnostic starting point rather than a universal specification. The correct route depends on the actual materials, finishes, geometry and cleaning expectations. For example, a removable textile sleeve may be useful in one program but unacceptable in a kit expected to be rinsed and repacked immediately.
Compare retention methods by their job
Retention methods should be selected by function, not appearance. A molded pocket locates a part, while a flexible strap resists lifting. A divider prevents side contact.
A compression pad reduces clearance when the case closes. One feature should not be assumed to solve every direction of movement.
Geometry-led retention
Ribs, ledges, shallow pockets and shaped cavities can create repeatable locations without adding loose accessories. They work best when the design includes insertion clearance, drainage or cleanability where needed, and a clear release path. Buyers should confirm that the feature retains the finished component, not only the nominal CAD body.
A geometric stop should contact an intentional robust area. Avoid concentrating load on thin lid edges, seal lips, decorated faces or flexible parts unless the construction is designed for that load. If a component deforms under closed-case compression, the initial quiet fit may not remain stable.
Flexible keepers and pockets
Elastic loops, textile pockets and flexible clips can accommodate moderate variation and help secure cutlery or small accessories. Their tradeoffs include sewing consistency, elastic recovery, cleaning access and replacement needs. The buyer should specify whether the keeper is a permanent component, a removable part or retail packaging that will be discarded.
Do not approve a keeper only in its unused condition. Repeated loading can change tension, and users may insert a utensil in an unintended orientation. Review the likely use sequence and whether the retention remains understandable without printed instructions.
Separators, sleeves and surface protection
A separator can protect two finishes while also taking up clearance, but it becomes part of the bill of materials and user experience. Confirm thickness, material, color, edge treatment, washing route and storage location when the kit is in use. A separator that is easily lost does not provide reliable long-term control.
Temporary protective films or transit sheets should not be confused with reusable retention. If they are removed before first use, the consumer configuration must still be validated without them. Retail presentation and daily carry are separate conditions and may require separate controls.
Set retention clearance around production variation
A sample can feel perfect because its parts happen to sit near nominal dimensions. Production contains normal variation in molded geometry, metal forming, textile sewing, coating thickness and assembly. The retention system therefore needs a functional window: secure at the loose combination, but still insertable and retrievable at the tight combination.
Ask for the dimensions that control each interface rather than a single overall tolerance statement. For a cutlery pocket, the relevant values may include utensil width, pocket opening, keeper position and material thickness. For a nested stack, the relevant values may include taper, rim height, ovality and the thickness of any divider.
Use mixed-component samples for portable tableware rattle control
When possible, review more than one finished component combination. Pair relatively small and large mating parts within the approved range to expose loose and tight conditions. The objective is not to create an artificial worst case without context, but to avoid approving a single lucky stack as the production standard.
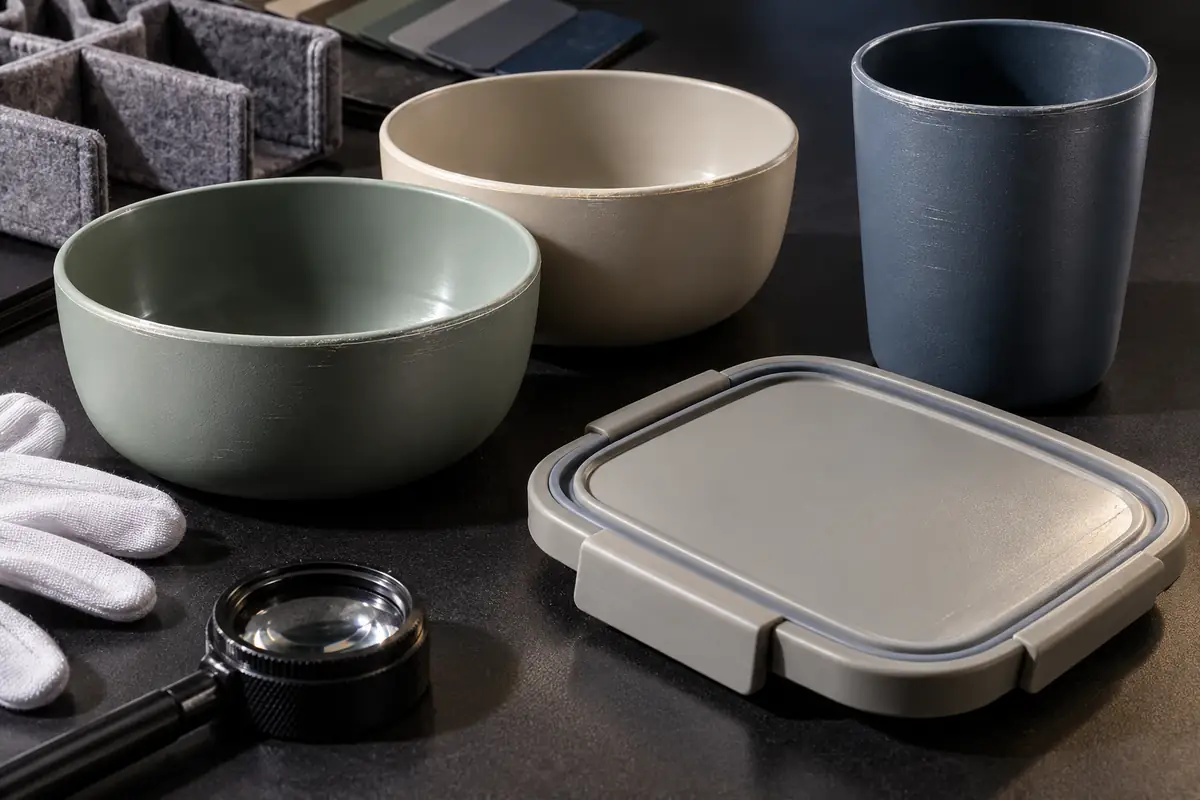
Color and surface finish also matter. A high-contrast mark can be visible even when dimensional damage is negligible, while a textured surface may mask a contact line but produce more audible friction. Approve the sellable material and finish combination rather than relying on uncolored engineering samples for cosmetic judgment.
Balance secure carry with retrieval and repacking
A component can be retained so effectively that the user needs both hands, a fingernail or excessive force to remove it. That may reduce rattle in a test but weaken the product experience. Buyers should define how the kit is opened, which component is removed first and where fingers can grip it.
Retention force is only one part of retrieval. Visual clarity matters as well. If several utensils fit the same pocket but only one orientation permits closure, the design needs a physical cue, a shaped profile or simple packing guidance. A premium set should not depend on trial and error every time it is repacked.
Cleaning changes the condition too. Wet hands, residual moisture or food soil may alter friction and make close-fitting parts harder to separate. The validation plan should reflect the intended user route without making unsupported hygiene or performance claims.
Validate the complete SKU under defined handling
Testing should begin with a written pack-out: component order, orientation, dividers, accessories, case closure and any retail materials that remain during transport. Without that reference, two teams can test different configurations and report opposite conclusions.
Use a staged review. First check assembly and retrieval at the table, then carry the closed kit in expected orientations. Next apply an agreed handling or transport simulation appropriate to the project.
Open the kit after each stage and inspect component position, keeper condition, contact marks and closure load. Record any shift before repacking the components.
Define acceptance evidence before the final sample
“No rattle” is difficult to reproduce unless the method and listening condition are defined. A practical approval may record the exact packed BOM, movement sequence, duration, acceptable sound description and cosmetic inspection standard. If the program requires quantified acoustic or abrasion evidence, the buyer and supplier should agree the method rather than inventing a claim after testing.
Photographs should show both the closed kit and the post-test component positions. Short videos can document the movement sequence, while marked inspection photos show where contact occurred. Keep this evidence with the approved sample revision so later production checks use the same configuration.
Common specification mistakes that create late rework
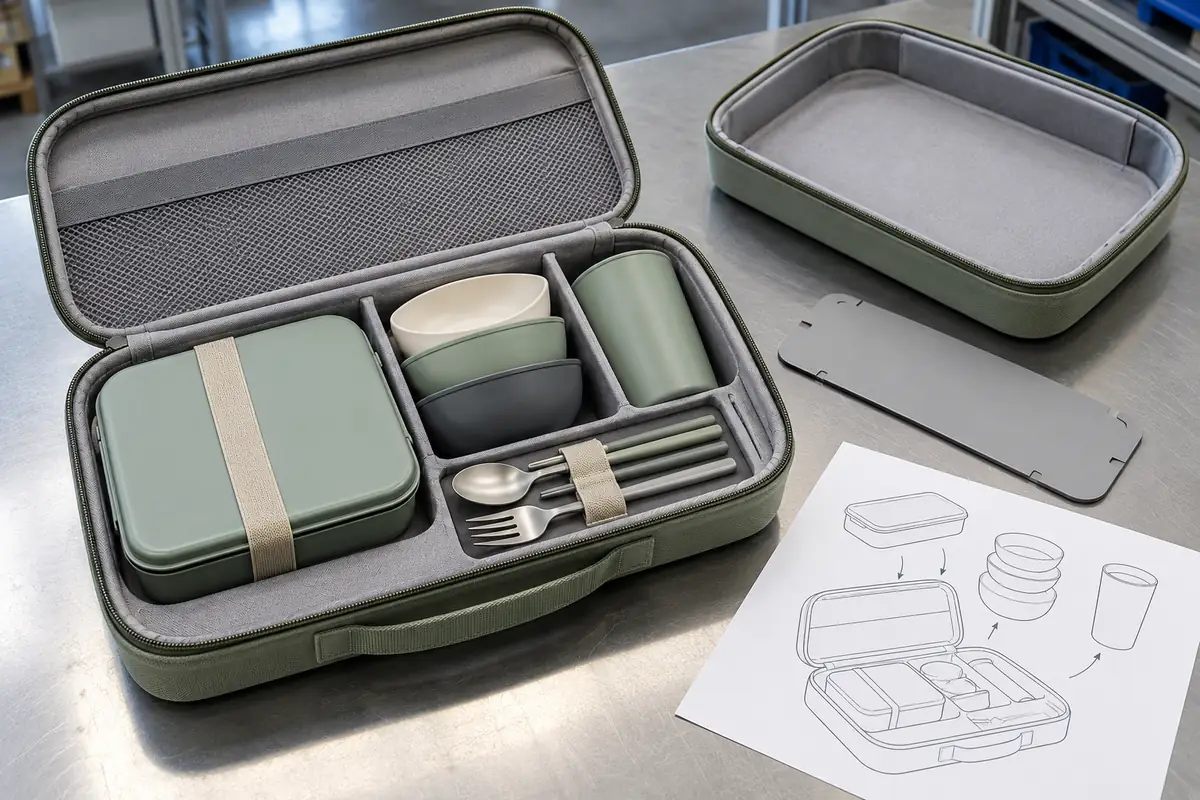
The first mistake is asking the bag or case supplier to solve movement before the final product dimensions are controlled. The second is accepting loose filler as a permanent answer without adding it to the BOM, packaging instructions and sample approval. The third is checking sound but not inspecting the surfaces that created it.
Another frequent mistake is validating only the fully loaded kit. A family or travel set may be carried with one cup or utensil removed. If partial configurations are expected, identify which ones must remain secure. Otherwise state that the carry case is designed for the complete packed set.
Finally, avoid changing a divider, strap or insert without revising the packed-size and closure checks. A few millimeters of added material can shift lid load or case compression. Retention belongs in the product specification, not in an informal packing note.
Buyer checklist for dining kit component retention
| Check | Question | Why It Matters |
|---|---|---|
| Sellable BOM | Which parts, dividers and accessories are inside each SKU? | Retention depends on the exact configuration. |
| Movement map | Which part travels, in which direction and into what surface? | It separates impact, rubbing and whole-stack shift. |
| Protected zones | Which visible, decorated or sealing surfaces must not become contact points? | Quiet packing should not create cosmetic or functional risk. |
| Retention method | Does each feature locate, separate, restrain or compress? | One feature rarely controls every movement axis. |
| Tolerance window | Has the interface been checked with loose and tight finished combinations? | A nominal sample may hide production variation. |
| Retrieval | Can users remove and repack each part in the intended sequence? | Excessive retention can damage usability. |
| Cleaning route | Are sleeves, pockets and dividers removable or cleanable as intended? | Retention parts remain part of the user system. |
| Handling method | Which orientations and movements will be used for approval? | Repeatable evidence needs a defined method. |
| Cosmetic review | How will rub lines, chips or finish transfer be judged? | Sound alone does not reveal surface impact. |
| Revision control | Is the approved pack-out tied to sample and BOM revisions? | Later substitutions can reopen the problem. |
Prepare a retention-focused RFQ
Send the supplier a component list, material and finish choices, available case dimensions, required carry orientations and the configurations that users may carry. Include photos or CAD showing decorated faces, sealing areas and surfaces that must remain protected. State whether a case, bag, molded insert or reusable divider is already fixed.
Also clarify what evidence you expect at sample approval: pack-out photographs, movement video, post-handling inspection or measurements of critical interfaces. This lets the supplier separate product design, soft-goods work, packaging and validation rather than pricing an undefined request for a “silent” kit.
B2B buyer FAQs about dining kit retention
Can dining kit component retention eliminate every sound?
That should not be assumed without a defined method and configuration. The practical goal is controlled movement and an agreed acceptance condition for the sellable SKU, not an undefined promise across every handling situation.
Is a tighter case always the best way to reduce rattle?
No. A tighter case may compress lids, seals or flexible parts and can make retrieval difficult. Locate the moving component and control its path instead of applying pressure to the complete stack without analysis.
Should cutlery be stored inside the food container?
It can be, provided the storage geometry, cleaning route, surface contact and retrieval sequence are intentionally designed. Buyers should approve the actual utensil combination and not assume any cutlery will fit the same cavity.
How should scuffing be checked during sample approval?
Use the intended materials, colors and finishes, repeat the agreed packing and handling sequence, then inspect known contact areas under consistent lighting. Record the result with the sample revision rather than relying on memory.
Do removable separators belong in the BOM?
Yes, if they remain part of the product or are required for approved transport performance. Their material, thickness, color, quantity, cleaning route and packing position should be controlled like other components.
Conclusion: approve the movement system, not just the closed case
Dining kit component retention works when the team understands where movement begins, which surfaces can safely support contact and how the finished parts vary. Geometry, dividers, pockets and compression features should each have a defined job while leaving the kit easy to unpack, clean and repack.
Approve the complete sellable BOM, finished colors, partial configurations where relevant and the evidence used after handling. This converts rattle and scuffing from subjective complaints into controllable product and pack-out decisions.