
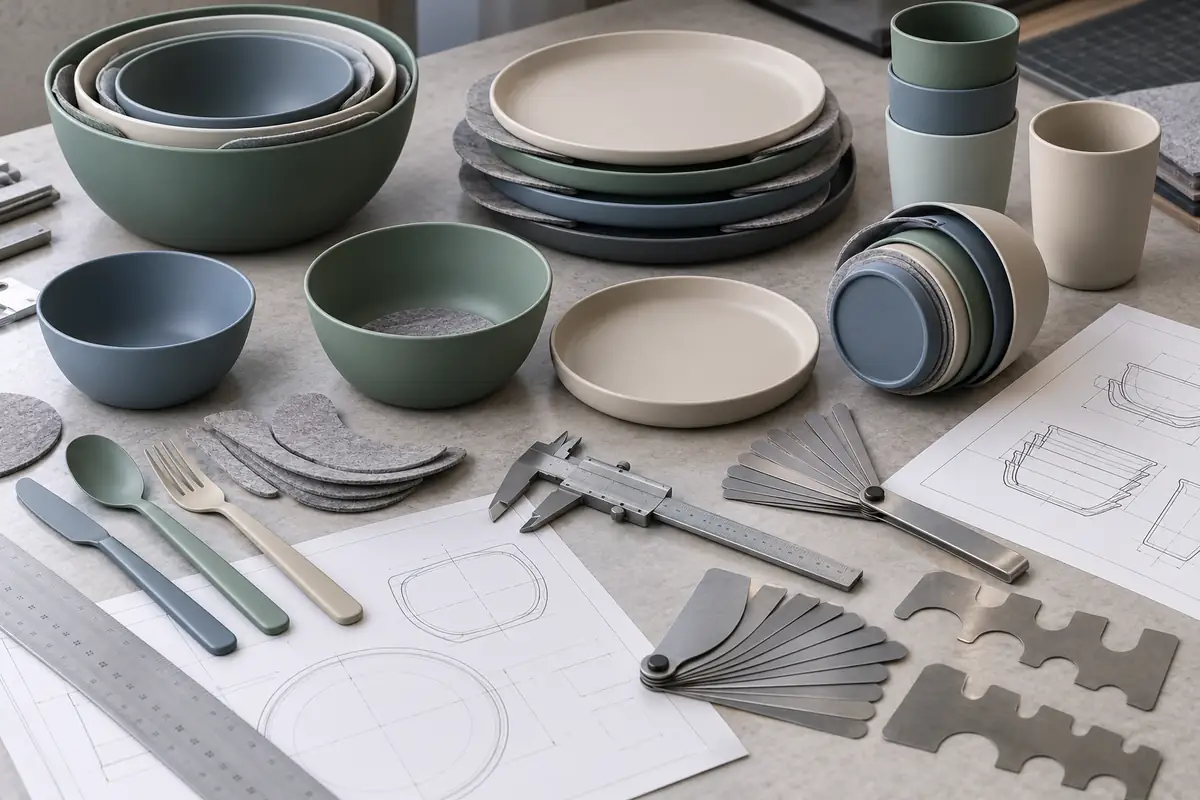
Control where parts touch before reducing stack height
Portable tableware nesting design should define which rims, ledges, feet or spacer features carry the stack, where visible surfaces must remain separated, and how users retrieve each component. Buyers should approve contact geometry, tolerances, finish interaction, loaded handling and packed-case fit together because the smallest stack is not necessarily the most stable, quiet or repeatable system.
Nesting is often treated as a packaging shortcut: place the smaller bowl inside the larger bowl and record the reduced height. In a portable dining set, that shortcut can move loads onto visible walls, trap components, create rattle or transfer abrasion between finishes. A useful design starts by controlling contact rather than chasing the minimum possible volume.
For importers, outdoor brands, promotional programs and private-label buyers, the commercial product is the complete packed sequence. Individual plates and cups may pass dimensional inspection while the assembled stack still binds or moves. Supplier quotations should therefore identify the nesting order, separators, case and approved sample condition.
This guide does not state one universal gap, surface limit, drop condition or cycle count. Those parameters depend on component size, material, finish, use scenario and market claim. It provides a factory-side method for translating compactness into measurable geometry and sample checks.
Step 1: map every component in the packed stack
List the stack from the outer case inward. Include plates, bowls, cups, lids, dividers, cutlery, seals, straps and any temporary protective piece. Assign a component code and orientation so different teams do not evaluate different arrangements under the same set name.
Record the free-state dimensions of every part. For bowls and cups, note rim diameter, body profile, base foot and total height. For plates and trays, note rim height, central floor, edge radius and any molded rib that can become a support point.
Create a simple section drawing through the nested assembly. It should show the intended vertical support path and the surfaces that must not touch. This drawing is more useful than a top-view product rendering when teams need to discuss wedging and clearance.
Measure the complete stack in relaxed and packed conditions. A strap or fitted case can apply pressure and change the contact pattern. The approved height should identify whether accessories and separators are included.
What portable tableware nesting design must document
Document component order, orientation, support contact, protected surfaces, nominal gaps, stack height, allowed movement, retrieval sequence and separator material. Connect those items to drawing revisions and the retained sample. A note such as “all parts nest” is too broad for production inspection.
Also mark optional components. A bottle cap, extra cup or alternate cutlery case can change load paths even when it sits beside the main stack. If several configurations share one case, approve each sellable pack-out separately.
Step 2: control portable tableware nesting design contact zones
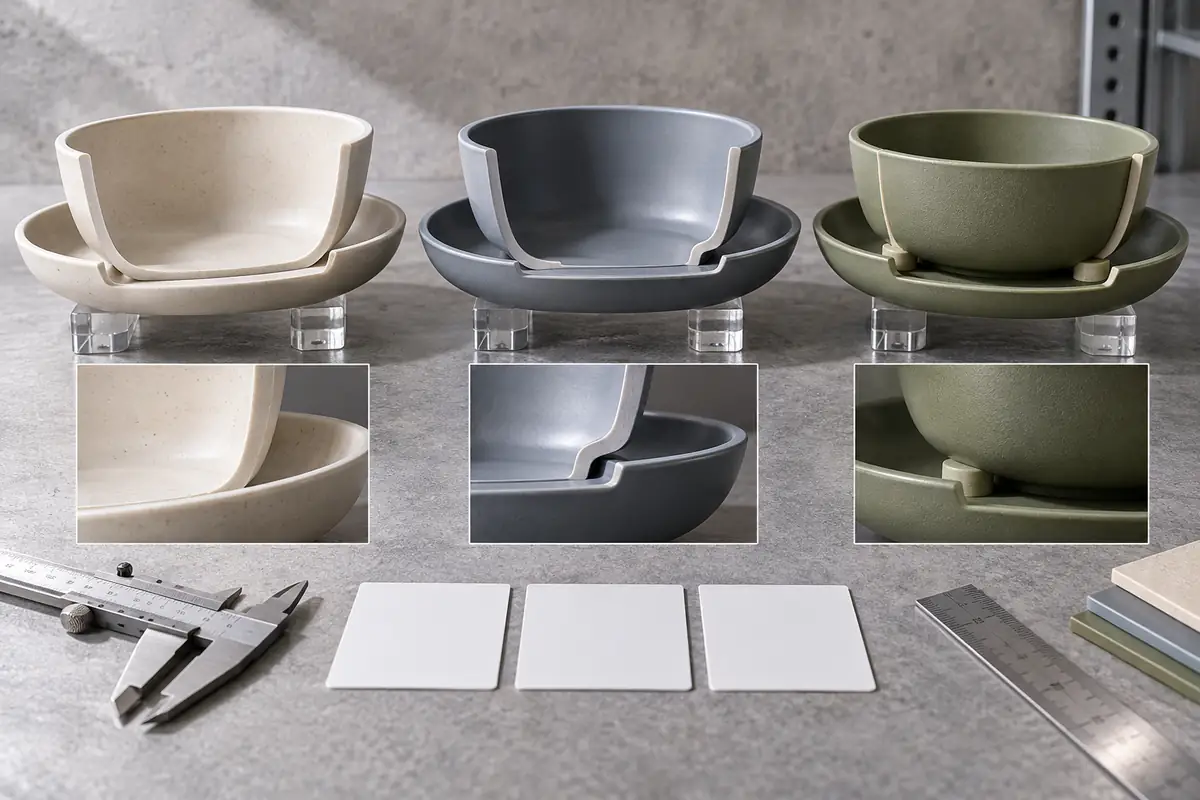
Broad wall-to-wall contact can reduce movement, but it also increases friction and the area exposed to rub marks. Slight angle or diameter variation can make the parts bind unexpectedly. Use it only when the surfaces, geometry and removal force are controlled together.
Rim or ledge contact creates a more defined support line. It can protect the central eating surface and preserve an air gap between walls. The ledge still needs adequate width, radius and tolerance so parts do not slip past or rock on a small high point.
Feet, ribs or molded spacer pads can localize contact. These features make the support path easier to inspect, but concentrated contact may produce visible witness marks if the load and finish are not considered. Their location should avoid food traps and uncomfortable handling areas.
Removable separators can be useful when mixed materials or premium finishes need isolation. They add pieces to the bill of materials and packing process, and they may be lost by users. Decide whether the separator is permanent equipment, disposable transit protection or a sample-development aid.
| Contact strategy | Potential value | Main risk | Buyer approval focus |
|---|---|---|---|
| Broad wall contact | Compact stack and distributed support | Friction, binding and large visible rub area | Taper, surface finish, removal force and tolerance extremes |
| Rim or ledge contact | Defined support with protected central surfaces | Rocking, slip-past or localized edge marks | Ledge width, radius, runout and stacked stability |
| Molded feet or pads | Intentional small contact zones and measurable gaps | High local pressure and added tooling detail | Pad height, location, wear appearance and cleanability |
| Removable separator | Isolation between different materials or finishes | Extra packing step and user loss | Material, thickness, washing route and replacement plan |
Step 3: set clearances from tolerance stacks
Nominal CAD clearance does not describe the worst production combination. Each diameter, wall angle, roundness and height has variation, and several parts can accumulate in one stack. Review maximum and minimum conditions rather than approving only average samples.
Taper controls how quickly clearance changes with insertion depth. A small angle difference may create easy entry followed by a wedge near the bottom. Mark the intended stop location so the stack does not depend on random wall contact.
Round components can be affected by ovality, while rectangular trays add corner radii and diagonal interference. Measure the geometry that controls nesting, not only overall length and width. Corner mismatch can prevent full seating even when straight-wall dimensions appear acceptable.
Account for finish thickness, coatings and decorative layers. A small dimensional change repeated across several nested parts can alter stack height or removal force. Approved drawings should identify dimensions in the finished condition where that is commercially relevant.
Temperature and conditioning can influence some polymers and flexible parts. Do not assume every sample will retain the same clearance under all use conditions. If a claim depends on a particular environment, define a suitable project-specific validation method.
Step 4: match contact geometry to materials and finishes
Matte polymer surfaces, polished metal, coated parts and composite materials show contact differently. A geometry acceptable on a textured resin may create visible marks on a high-gloss finish. Review the actual finish combination rather than testing unfinished samples only.
Hardness and stiffness affect how parts share load. A flexible rim may conform and increase contact area, while a rigid metal edge can concentrate pressure. Mixed-material stacks deserve special attention because one component may mark another without showing damage itself.
Color can make the same contact pattern more or less visible. Dark matte colors may reveal polished witness areas, and light gloss can highlight fine rub lines under side light. Include all planned color families in appearance approval when the risk differs visibly.
Food residue or cleaning moisture can change friction between parts. The nesting design should be easy to inspect and clean, with no separator that traps residue in normal use. Operational instructions should not compensate for inaccessible geometry.
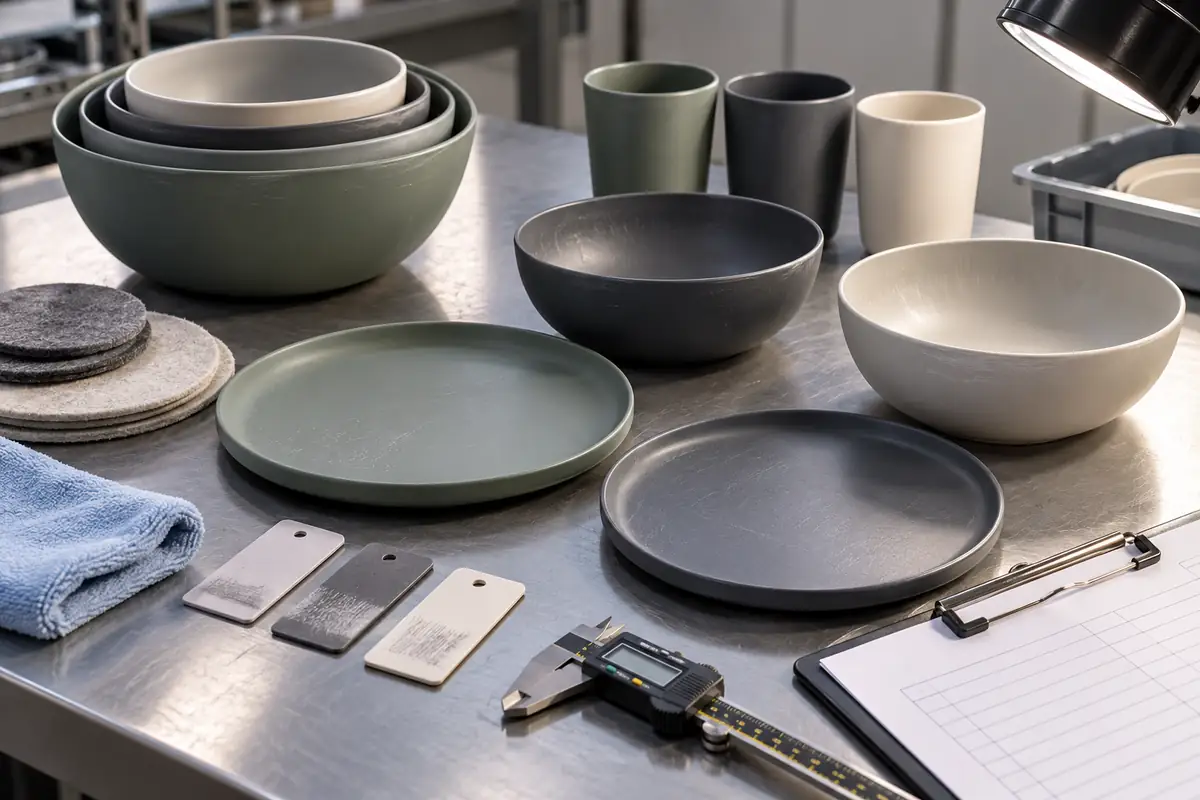
Use controlled side lighting during sample review. Front-facing photography can hide contact marks that appear when the product is rotated. Agree which surfaces are critical and which minor hidden witness areas may be acceptable.
Step 5: design for retrieval, not only compression
A compact stack has little value if users cannot separate the parts comfortably. Provide a finger gap, offset rim, tab or controlled projection where appropriate. The retrieval feature should remain accessible when the set is inside its case.
Check removal force at tolerance extremes. One ideal sample may separate easily while another combination wedges. Record the user action and orientation instead of accepting an undefined statement such as “easy to remove.”
Consider users wearing gloves, working outdoors or unpacking on a small surface. Parts should not need to be placed face-down on an unclean area during retrieval. The sequence should allow each item to be removed without scattering smaller accessories.
Return packing matters as much as first opening. Users should be able to recognize the correct order after a meal. Simple geometry and visible differences often work better than a detailed instruction card that may be lost.
How nested tableware contact points affect user experience
Contact points influence sound, feel, separation force and the appearance of used products. A technically compact set can feel low quality when parts scrape or lock together. Buyers should evaluate those interactions with the same attention given to color and logo placement.
Test partial configurations too. A family set may be carried with fewer cups, and a replacement part may alter the stack. The case and retention system should not rely on every optional component being present unless that is clearly stated.
Step 6: integrate stack retention and case fit
The case can compress, support or isolate the stack. Define which role it performs. A tight case that corrects an unstable product stack may transfer loads to lids, rims or latches that were not designed to carry them.
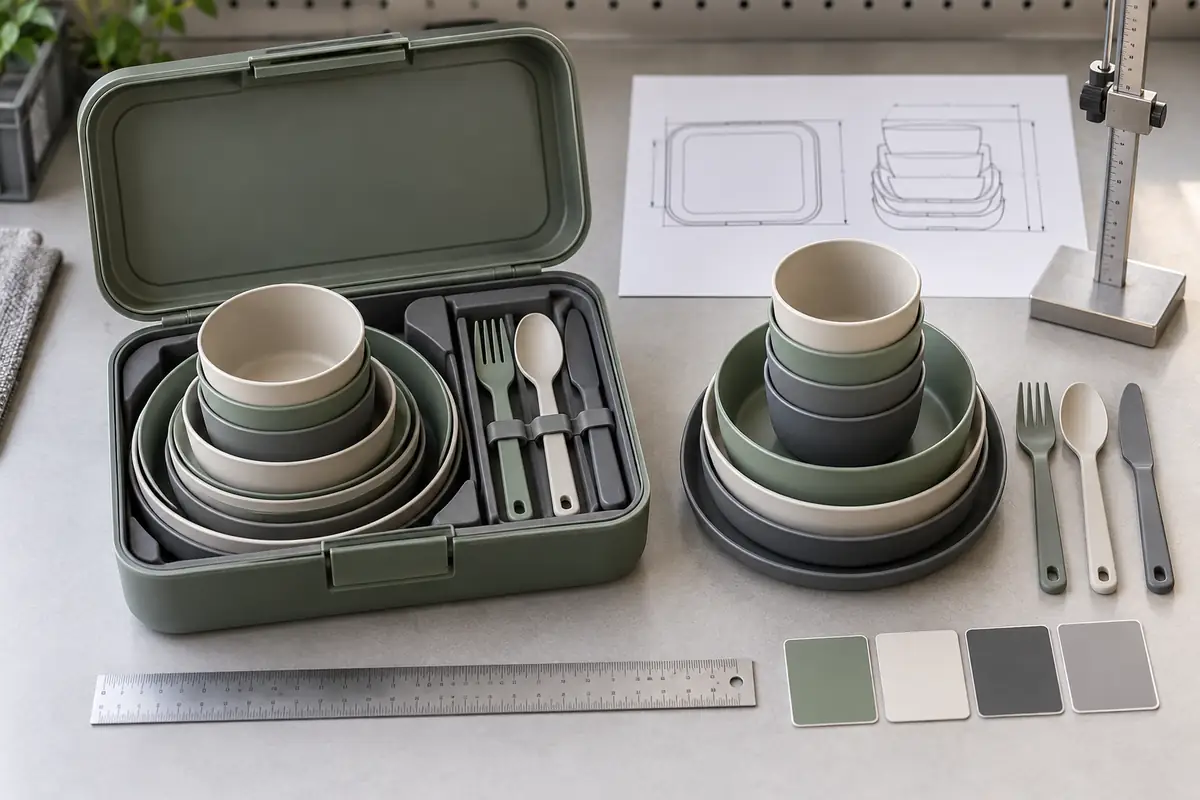
Measure internal usable dimensions after lining, seams and molded features. Nominal case size can overstate available space. Confirm closure with the complete stack, utensils, separators and any protective wrap.
Control lateral movement as well as vertical height. A stack that fits tightly top to bottom can still shift sideways and contact cutlery. Shaped channels, bands or removable blocks may help, provided they remain washable and repeatable.
Review the set after one component is removed. The remaining parts may become loose during a meal or return trip. A useful retention plan works through the entire use cycle, not only when the case leaves the factory.
Packaging outside the case should not change the approved stack. Transit pads used only for shipping need clear removal instructions, while permanent separators belong in the product bill of materials. Mixing those roles creates inconsistent customer experience.
Step 7: validate from geometry samples to production checks
Use early sample stacks to identify the likely support points. Mark observed contact with removable witness material or controlled inspection methods. The objective is to compare geometry, not to claim a universal wear result.
Next review parts from the intended tooling and finish route. Measure stack height, insertion depth, wobble, retrieval and contact location across more than one sample. Variation becomes visible only when components are mixed instead of kept as matched pairs.
Define a project-appropriate handling sequence that represents packing, transport and removal. Record the number of repetitions, load, orientation and inspection lighting if those details affect acceptance. Avoid borrowing a cycle count from an unrelated product.
The golden sample should include separators, case and packing diagram. Store the section drawing and critical dimensions with it. Production inspection can then check the same contact logic rather than relying on a single overall height.
Set change triggers for materials, colors, coatings, tooling and case construction. A small surface or geometry change can move the contact point. Repeat the relevant checks when a revision affects the nesting interface.
Buyer checklist for portable tableware nesting
| Check | Question | Why It Matters |
|---|---|---|
| Stack map | Is every component and orientation identified? | Prevents teams from approving different pack-outs. |
| Support route | Which rims, ledges, feet or pads carry the load? | Makes contact intentional and inspectable. |
| Protected surfaces | Which visible or food-use areas must remain separated? | Focuses clearance where appearance and function matter. |
| Tolerance stack | What happens at maximum and minimum dimensions? | One ideal sample cannot represent production variation. |
| Finished dimensions | Are coatings and finishes included in interface control? | Surface layers can change clearance and stack height. |
| Retrieval | Where do users grip each nested component? | Compactness should not create awkward separation. |
| Movement | How much lateral and vertical motion is acceptable? | Controls rattle and unplanned contact inside the case. |
| Separators | Are they permanent, washable and replaceable? | Clarifies product scope and packing responsibility. |
| Case fit | Does the case close without loading sensitive parts? | Prevents the carrier from masking an unstable stack. |
| Partial set | What changes when one or more items are removed? | Reflects use during meals and return transport. |
| Appearance review | Are contact areas checked under controlled light? | Some marks appear only at specific angles. |
| Change control | Which geometry, material or finish revisions require retesting? | Protects the approved interface on repeat orders. |
Convert nesting intent into the RFQ
Send the component list, preferred nesting order, maximum packed dimensions, material options, finishes, carry case and use scenario. Mark surfaces that need protection and whether separators are acceptable. This gives suppliers a common basis for design proposals.
Request drawings or section views for critical interfaces. Ask which features use existing molds and which require modification or new tooling. A small ledge or spacer may be inexpensive to describe but significant to manufacture.
Separate sample, tooling and production timing. Early configuration samples can answer stack and retrieval questions before final decoration. Tooled samples should then confirm finished geometry and tolerance behavior.
Ask suppliers to quote all retention components and the complete case. Omitting separators or shaped inserts can make two prices look similar when the delivered systems behave differently. The bill of materials should match the approved packed sample.
Frequently asked B2B questions about nesting design
Should nested tableware touch as little as possible?
Not necessarily. The design needs controlled support somewhere, and a larger intended contact zone may be more stable than accidental edge contact. Protect critical surfaces while defining a repeatable load path.
What causes nested bowls to become stuck?
Possible causes include taper mismatch, insufficient clearance, ovality, finish thickness, flexible deformation and moisture-related friction. Review finished samples across tolerance combinations rather than diagnosing from nominal diameter alone.
Are fabric or felt separators a permanent solution?
They can be when the material, washing route, thickness and replacement plan fit the product. If they are used only to hide unresolved geometry, they may add cost and user burden without creating a stable interface.
How should buyers approve stack height?
Specify the complete component order, finished condition, separators, accessories and case state. Measure more than one mixed sample stack so the value reflects production variation.
Can one case support several nesting configurations?
Yes, but each sellable configuration should be checked for retention, closure and retrieval. Missing optional parts can create movement that was not present in the fully loaded sample.
Conclusion: make compactness repeatable
Portable tableware nesting design succeeds when support points, protected surfaces, tolerance clearances, finishes, retrieval and case retention work as one system. The goal is not simply the shortest stack. It is a compact arrangement that production can reproduce and users can unpack without binding, uncontrolled movement or avoidable surface contact.
Send the component list, intended materials, packed-size limit, case concept, quantity and destination market for review. Naike Tableware can then identify existing configurations and the nesting interfaces that require drawing or sample confirmation.